
Out under the stars
Observing
Location, weather and moonlight shape the night. Plan a session that fits the conditions.
Astronomical observing depends on much more than the equipment being used. Location, darkness, weather, atmospheric transparency, seeing and the current phase of the Moon are just as important. Even a powerful telescope can reveal less under a strongly light-polluted sky than a smaller instrument under good conditions. On Foto-Gorilla, the focus is therefore not only on what can be observed, but also on the conditions under which an object can be seen at its best.
One of the most important factors is light pollution. Artificial light from cities, roads, industrial areas and buildings brightens the night sky and reduces the contrast of faint objects. Nebulae and galaxies are especially affected. The Bortle scale is often used to estimate sky quality. It ranges from Class 1, representing an almost natural and very dark sky, to Class 9 for heavily light-polluted inner-city areas. The lower the Bortle class, the more stars, Milky Way structure and faint deep-sky objects become visible.
Transparency and seeing are also important when planning an observing session. Transparency describes how clear and light-transmitting the atmosphere is, while seeing refers to atmospheric turbulence. Poor seeing makes stars twinkle and reduces fine detail, especially when observing the Moon and planets at high magnification. A cloudless sky is therefore not automatically a good sky.
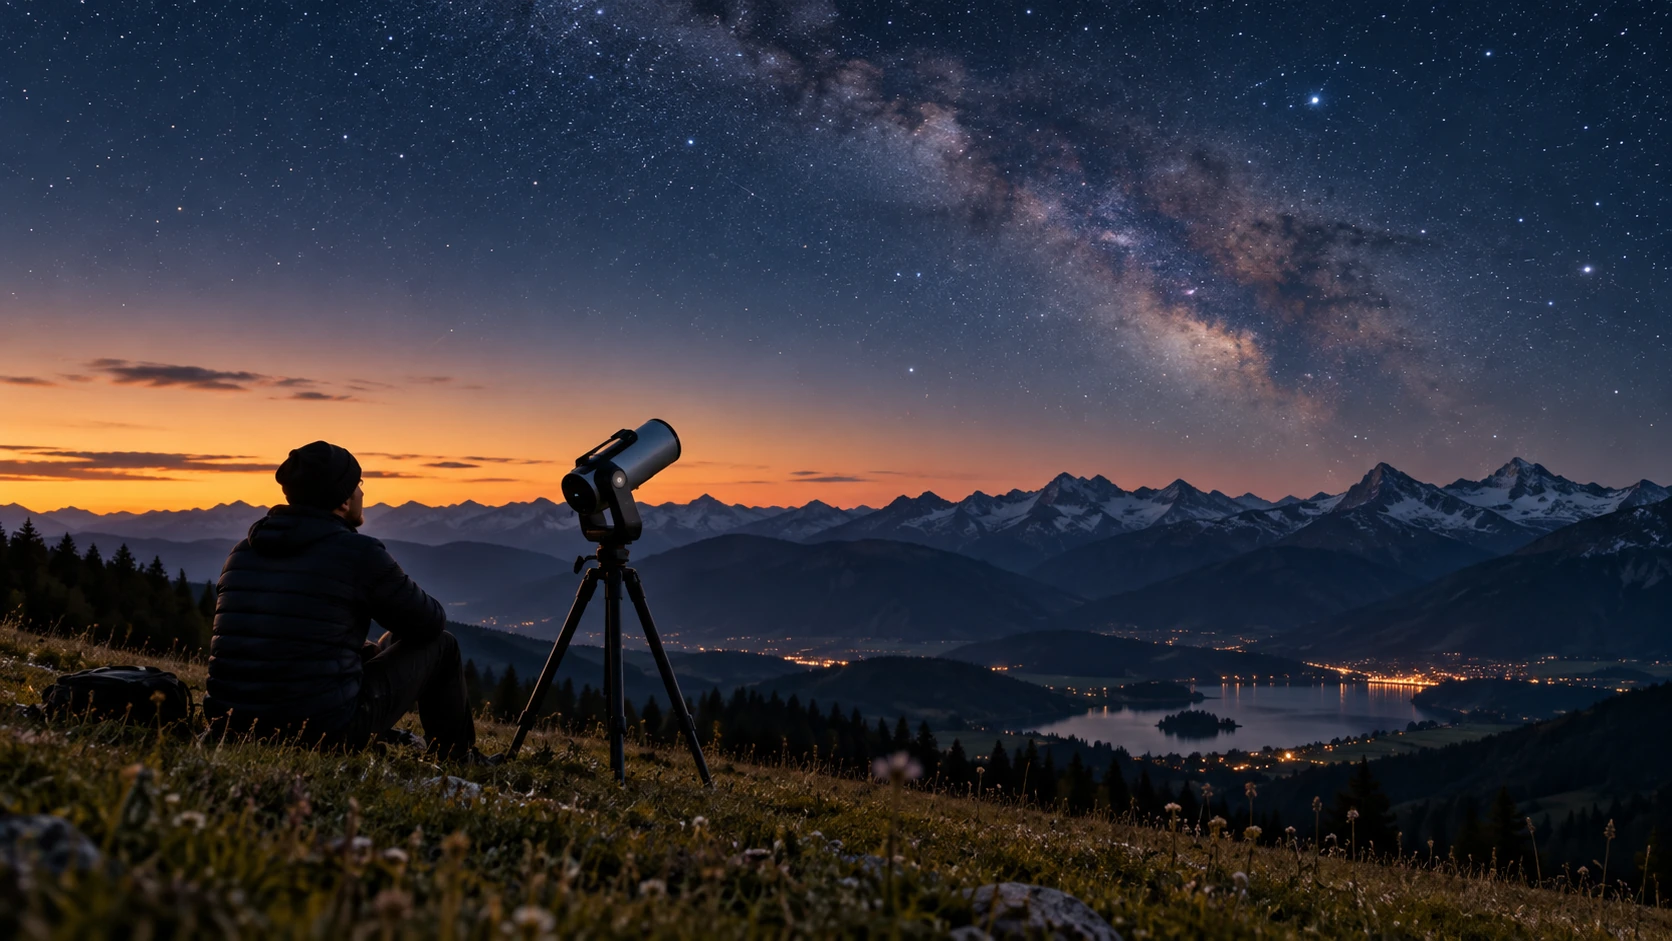
The phase of the Moon also has a major influence. Bright moonlight can significantly brighten the sky and make faint deep-sky objects harder to see. Moonless nights are often best for nebulae and galaxies, while lunar and planetary observing can still be excellent under bright moonlight.
On Foto-Gorilla, you’ll therefore find practical guidance on choosing observing sites, understanding Bortle classes, assessing seeing and transparency, planning with weather and astronomy apps, and selecting suitable observing targets for the conditions.
Reading the Sky
Location and Light Pollution
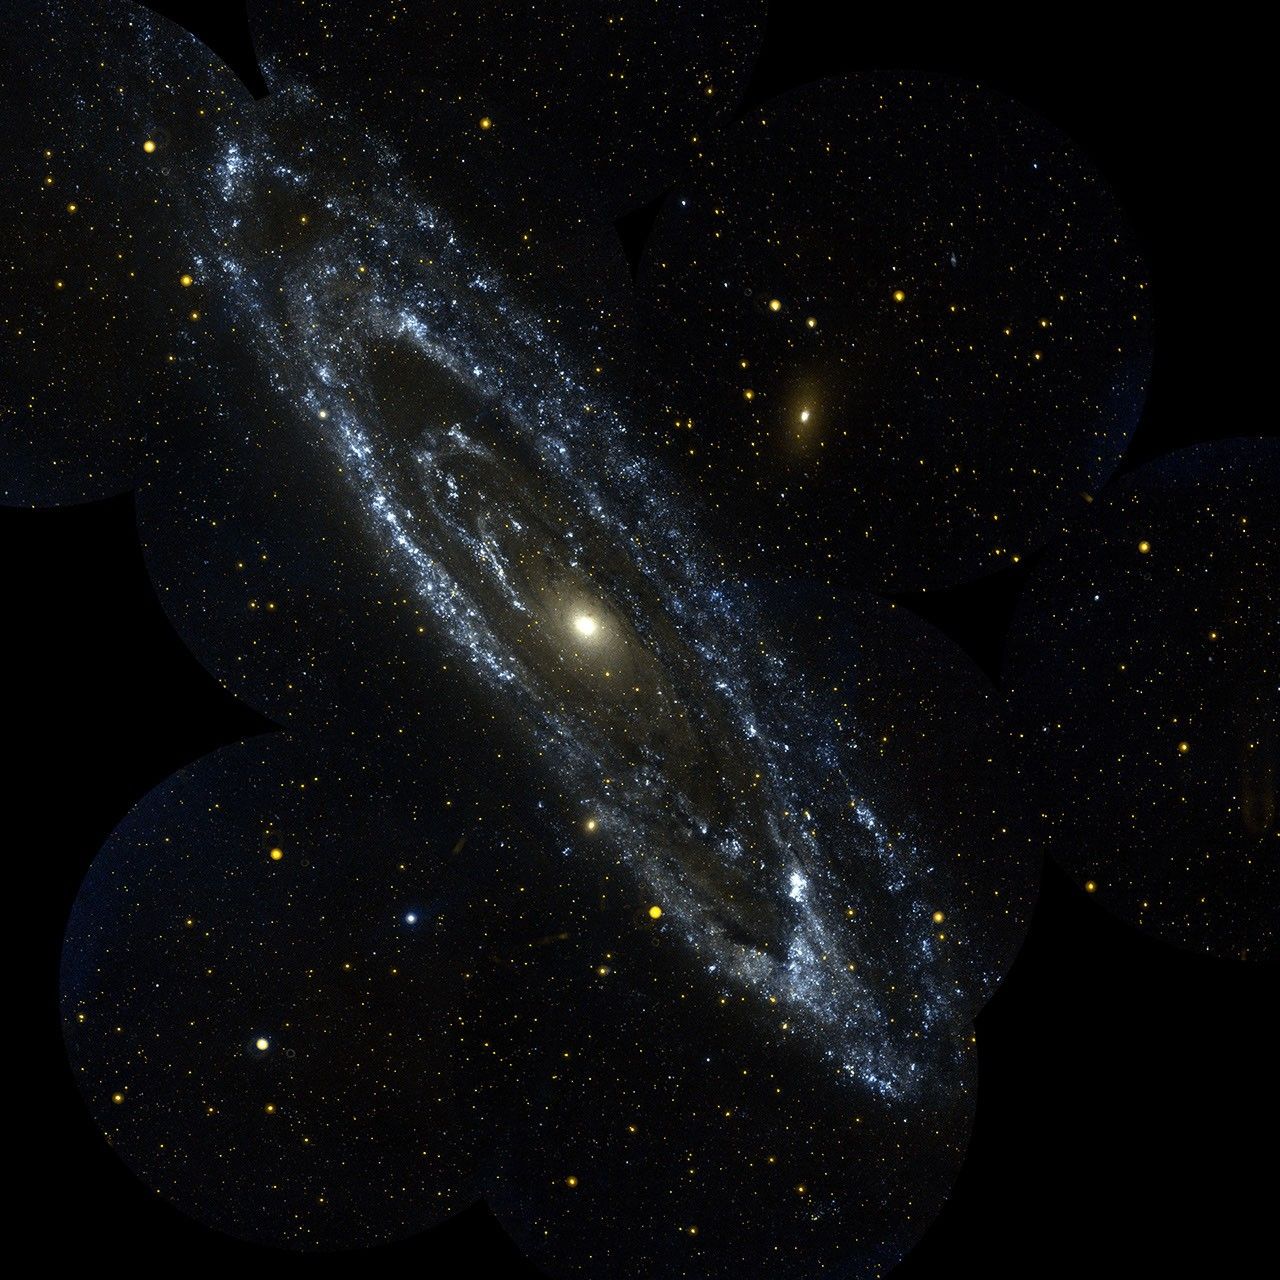
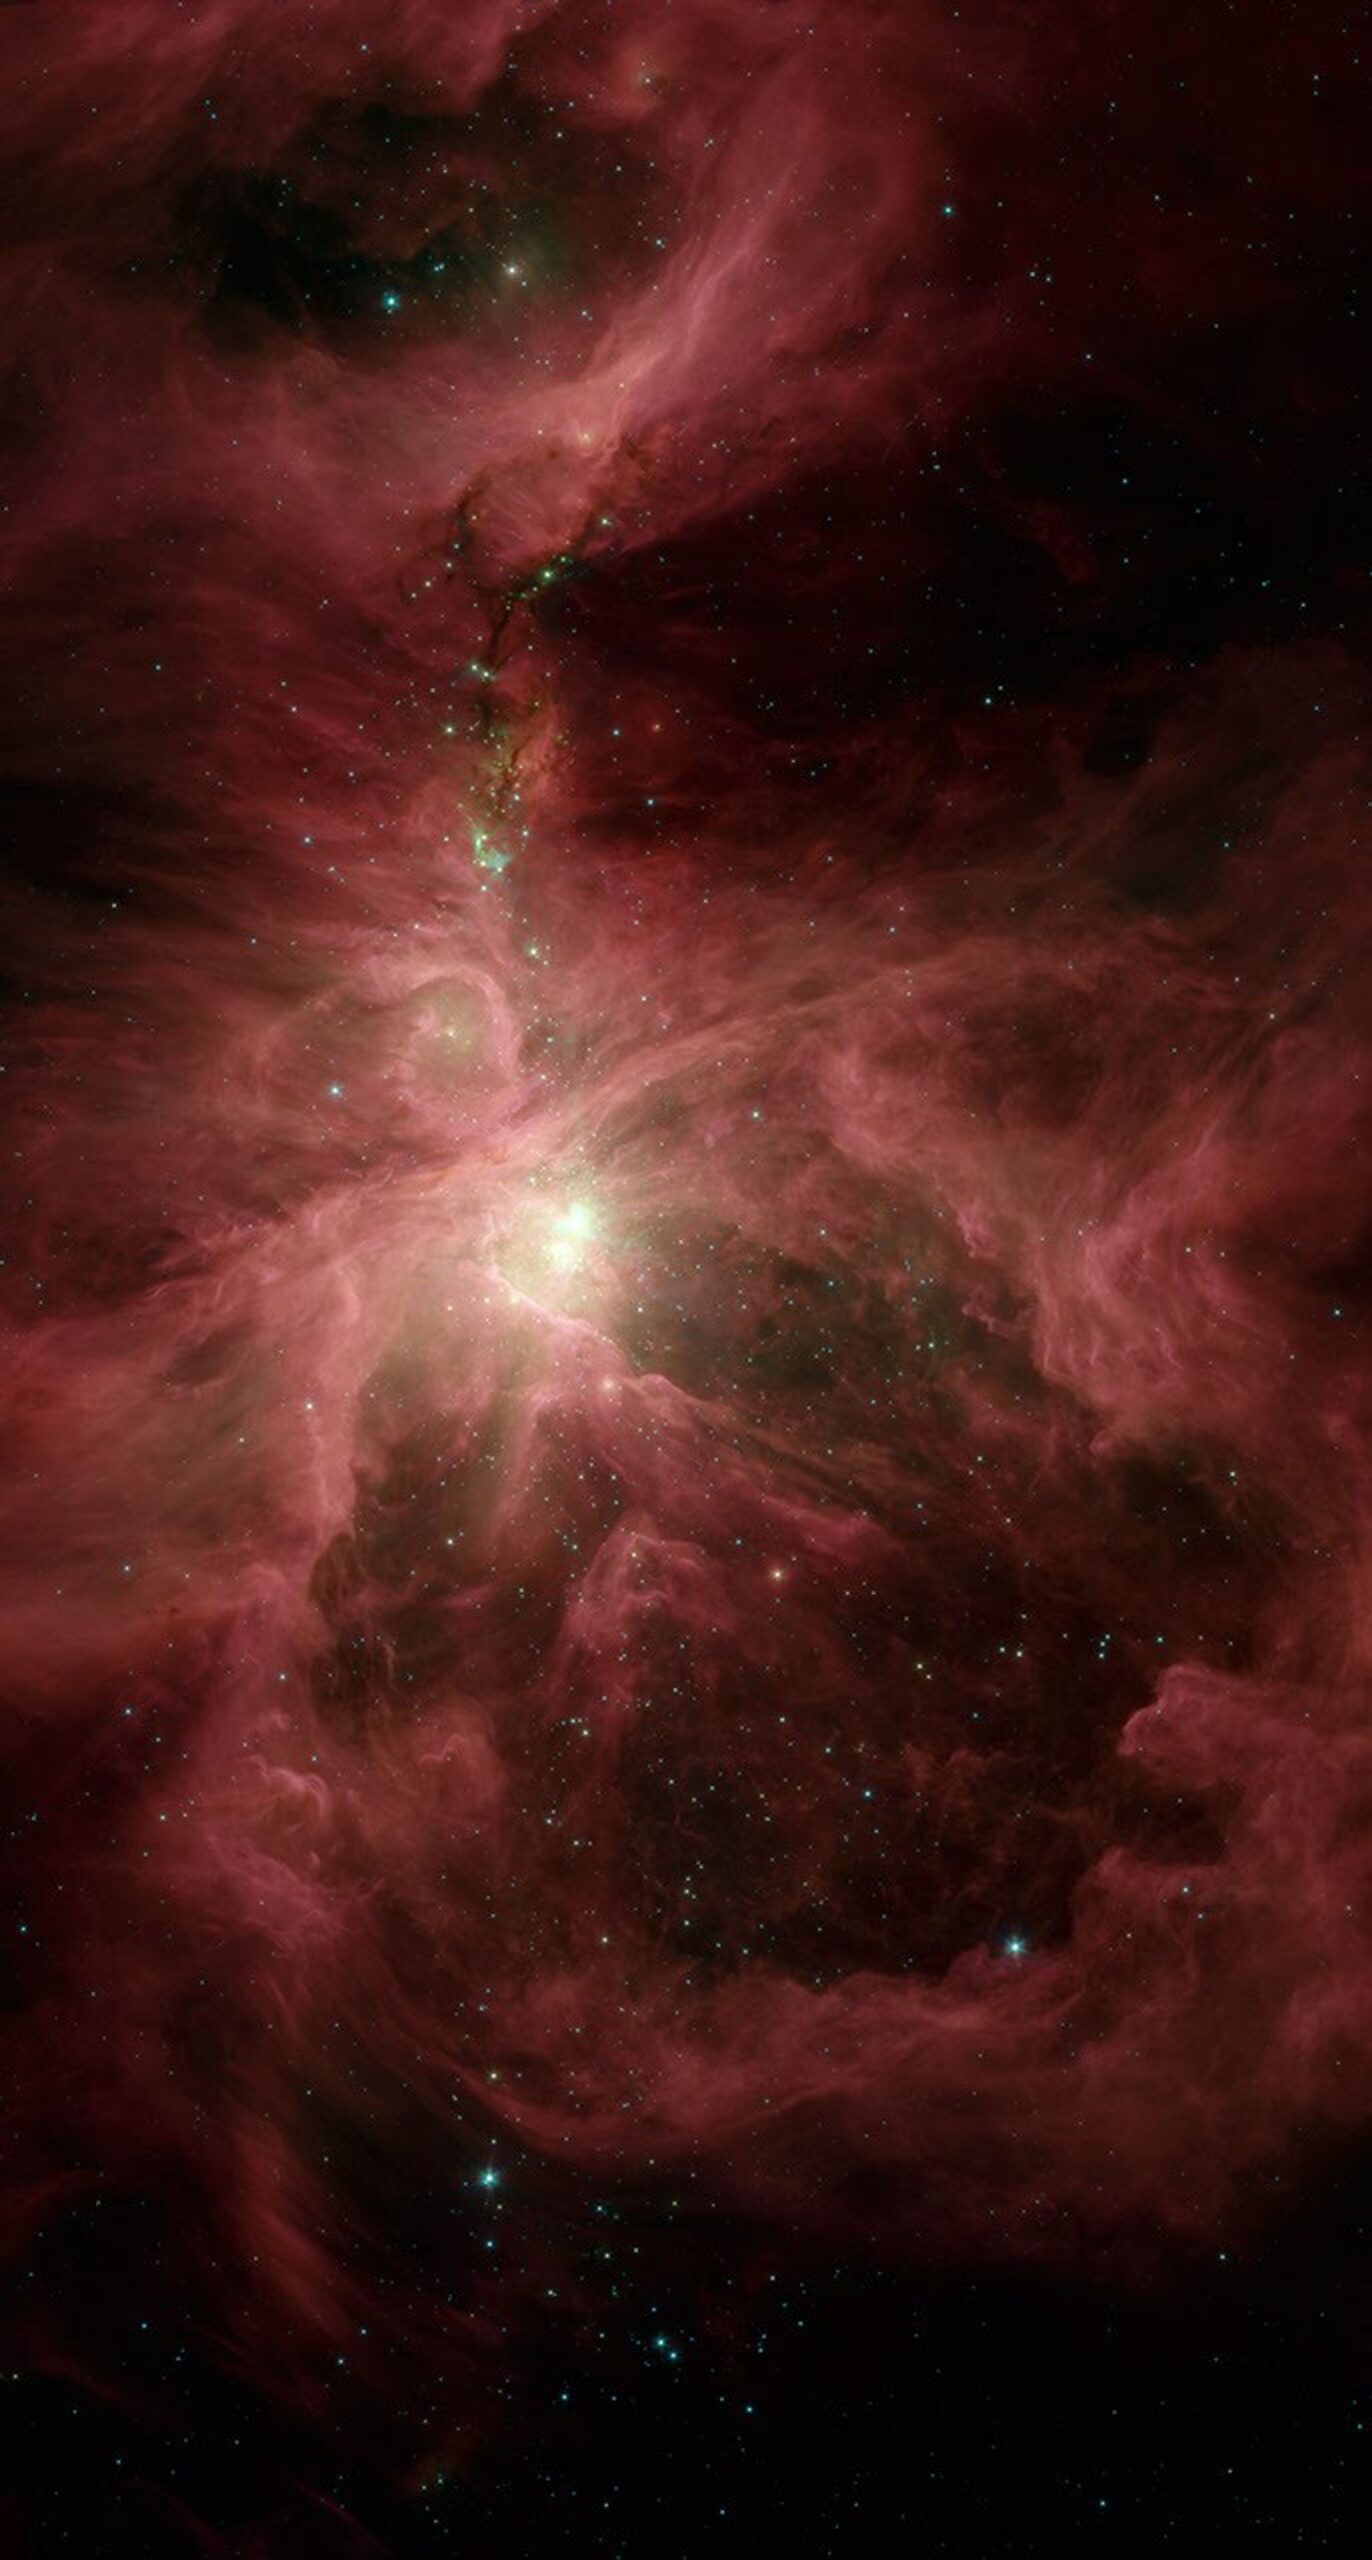
The observing location has an enormous influence on what can be seen in the night sky. In cities and densely populated areas, streetlights, buildings, industrial sites and other artificial light sources brighten the sky. This reduces the contrast between the dark background and faint celestial objects. Galaxies, faint nebulae and subtle structures in the Milky Way are especially affected.
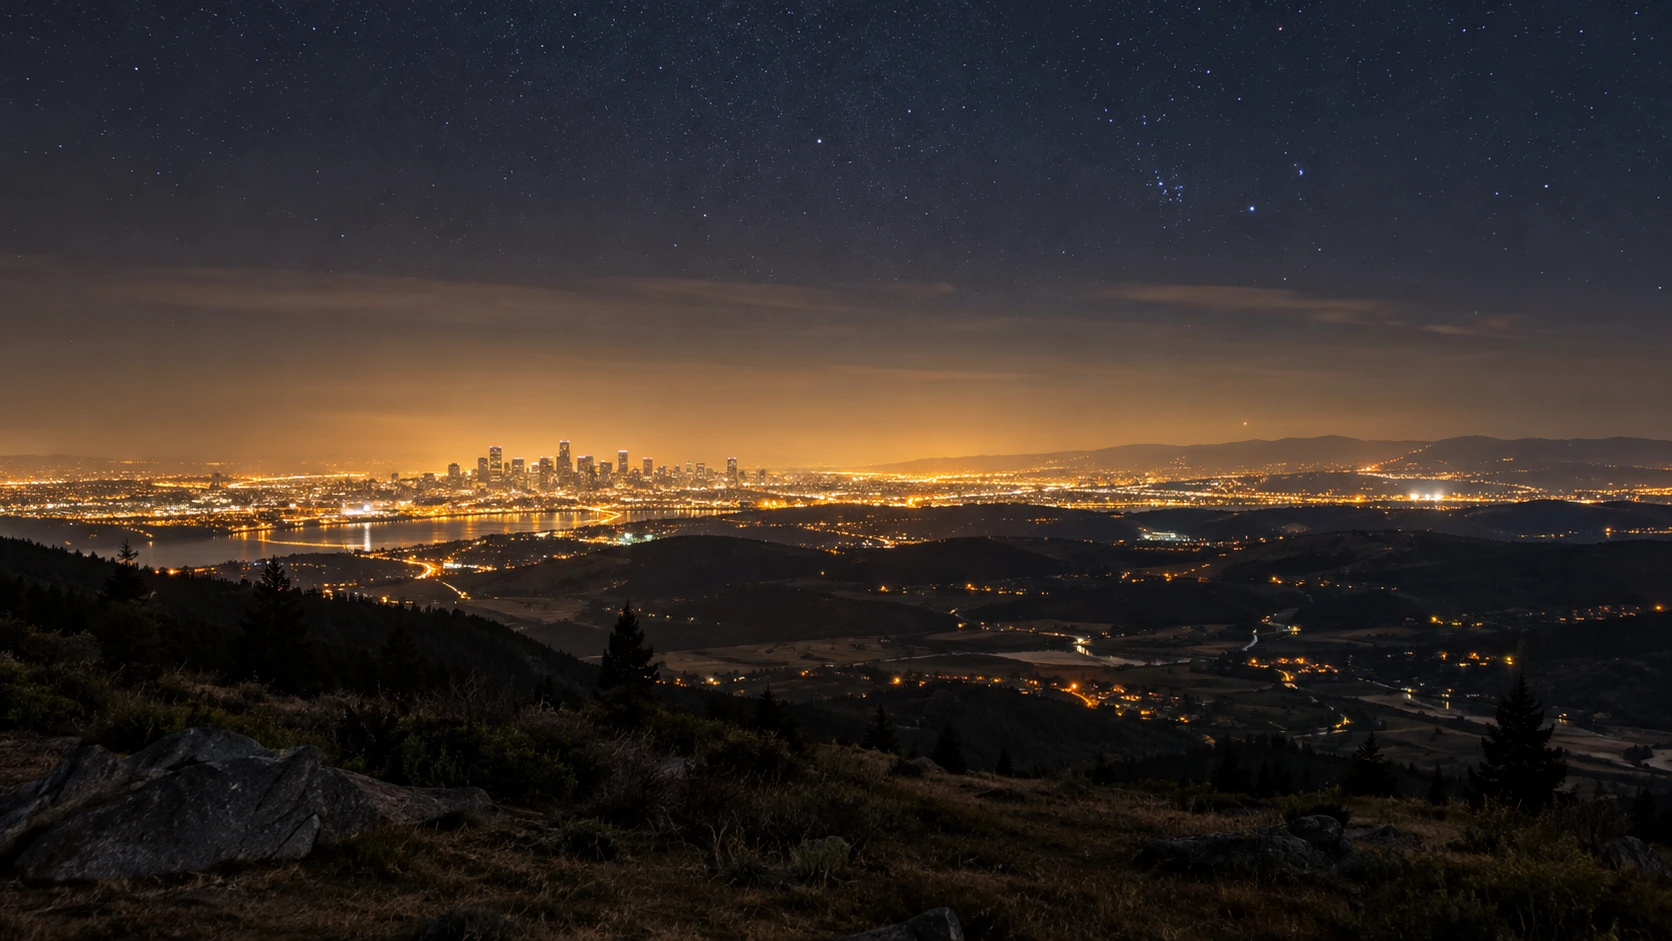
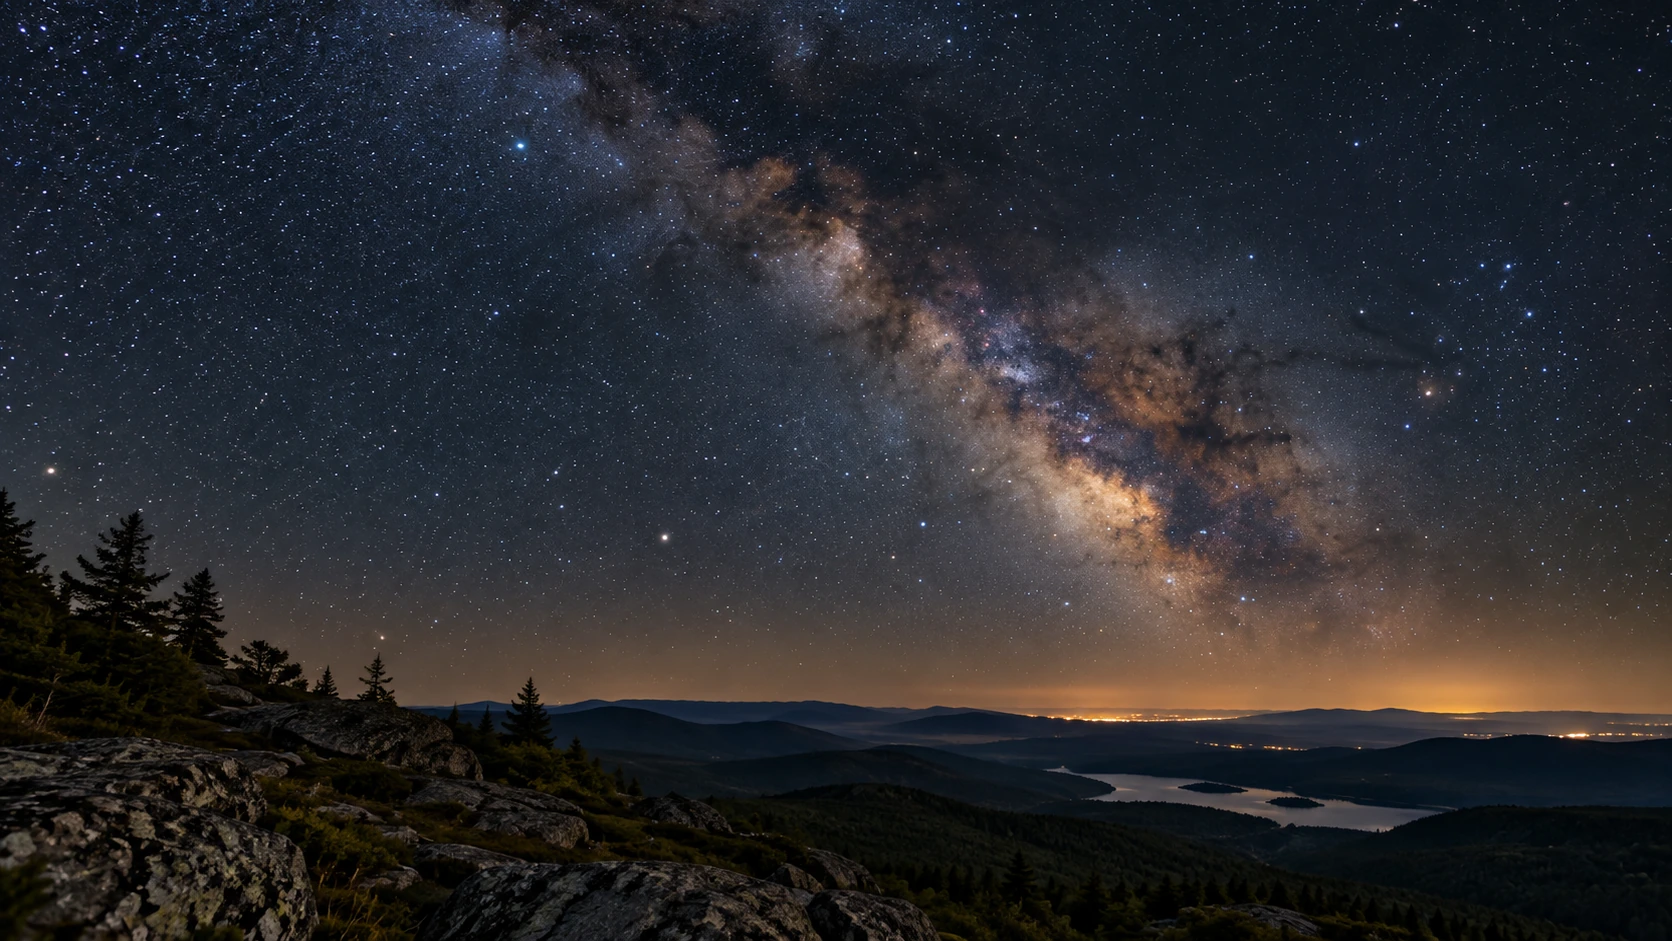

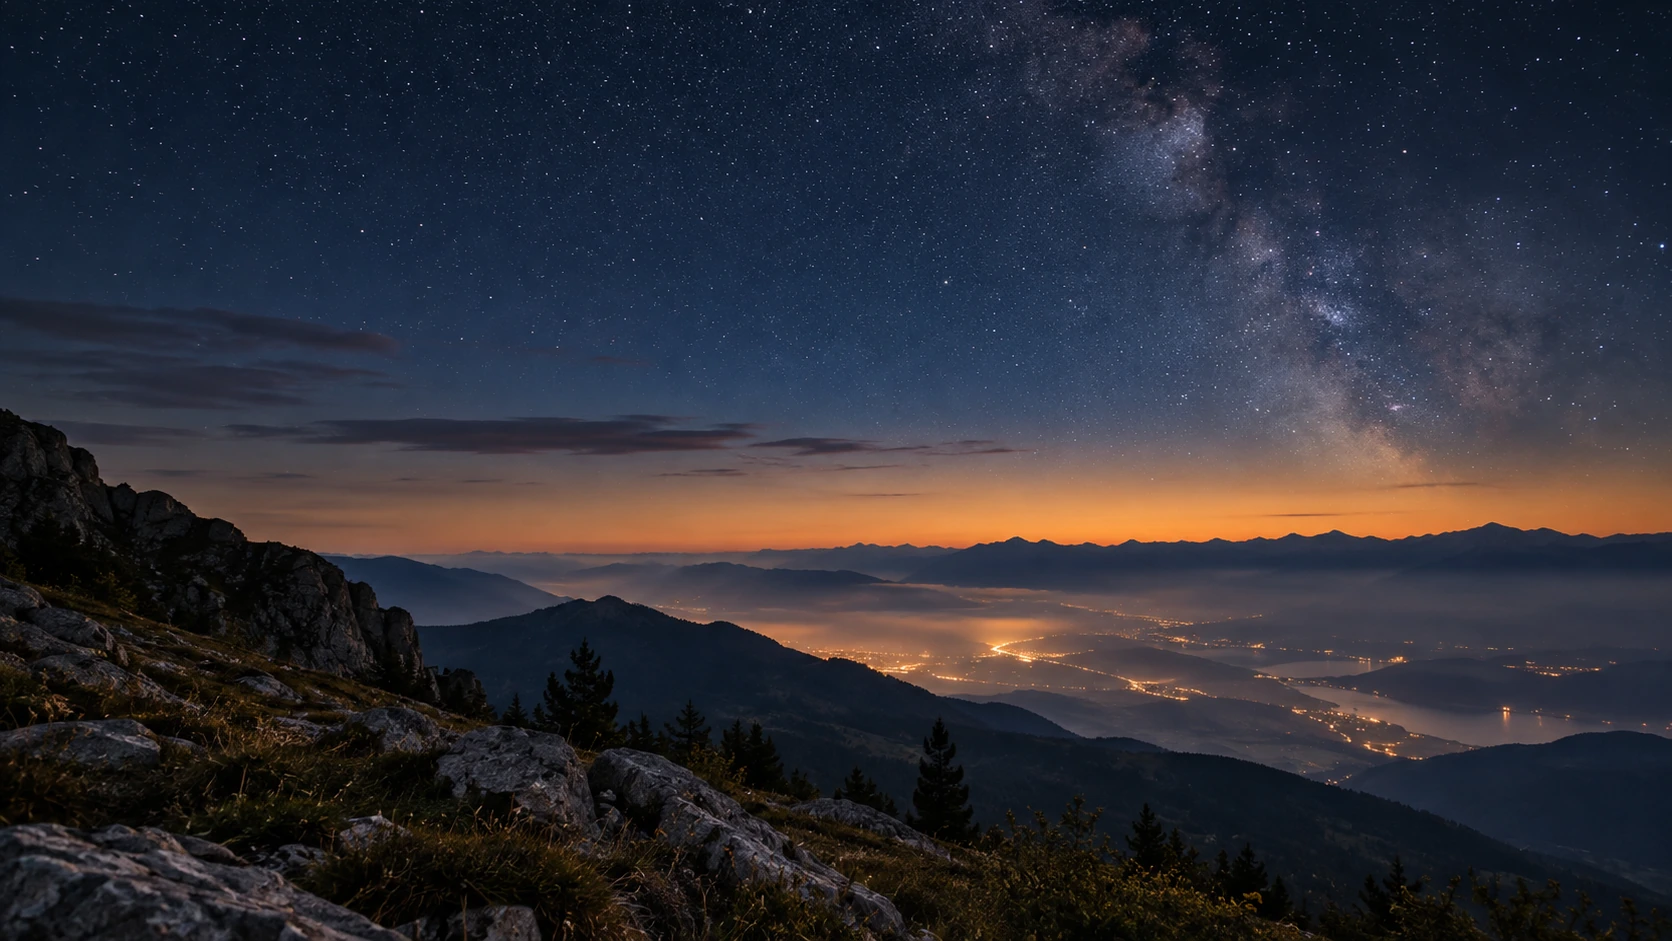
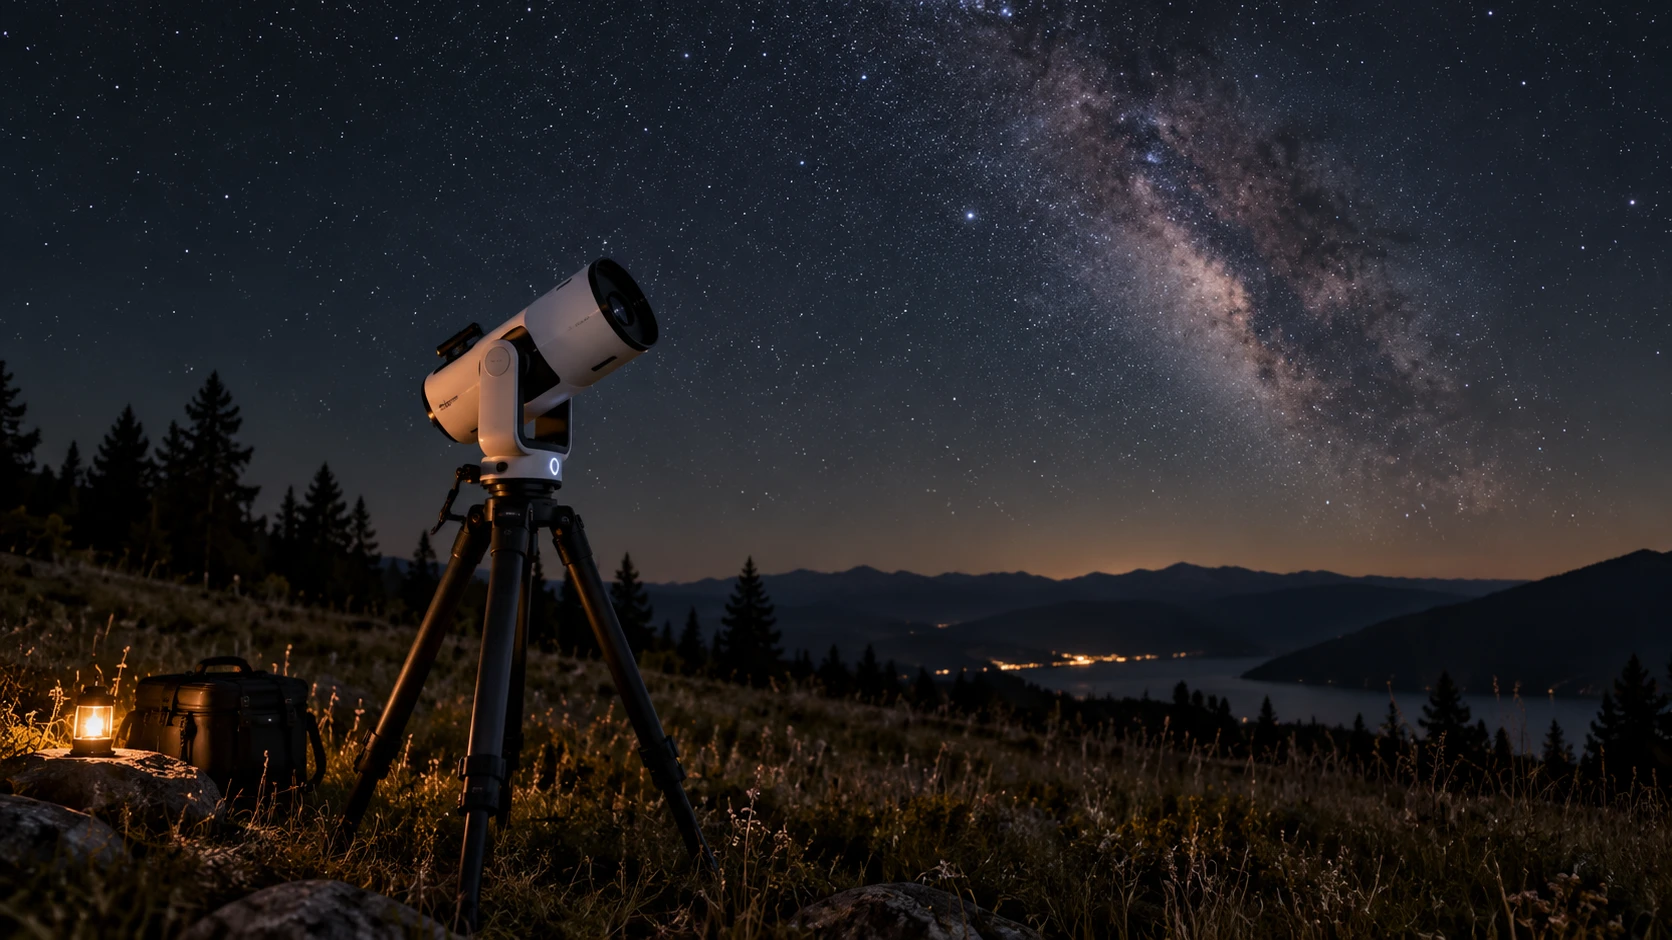
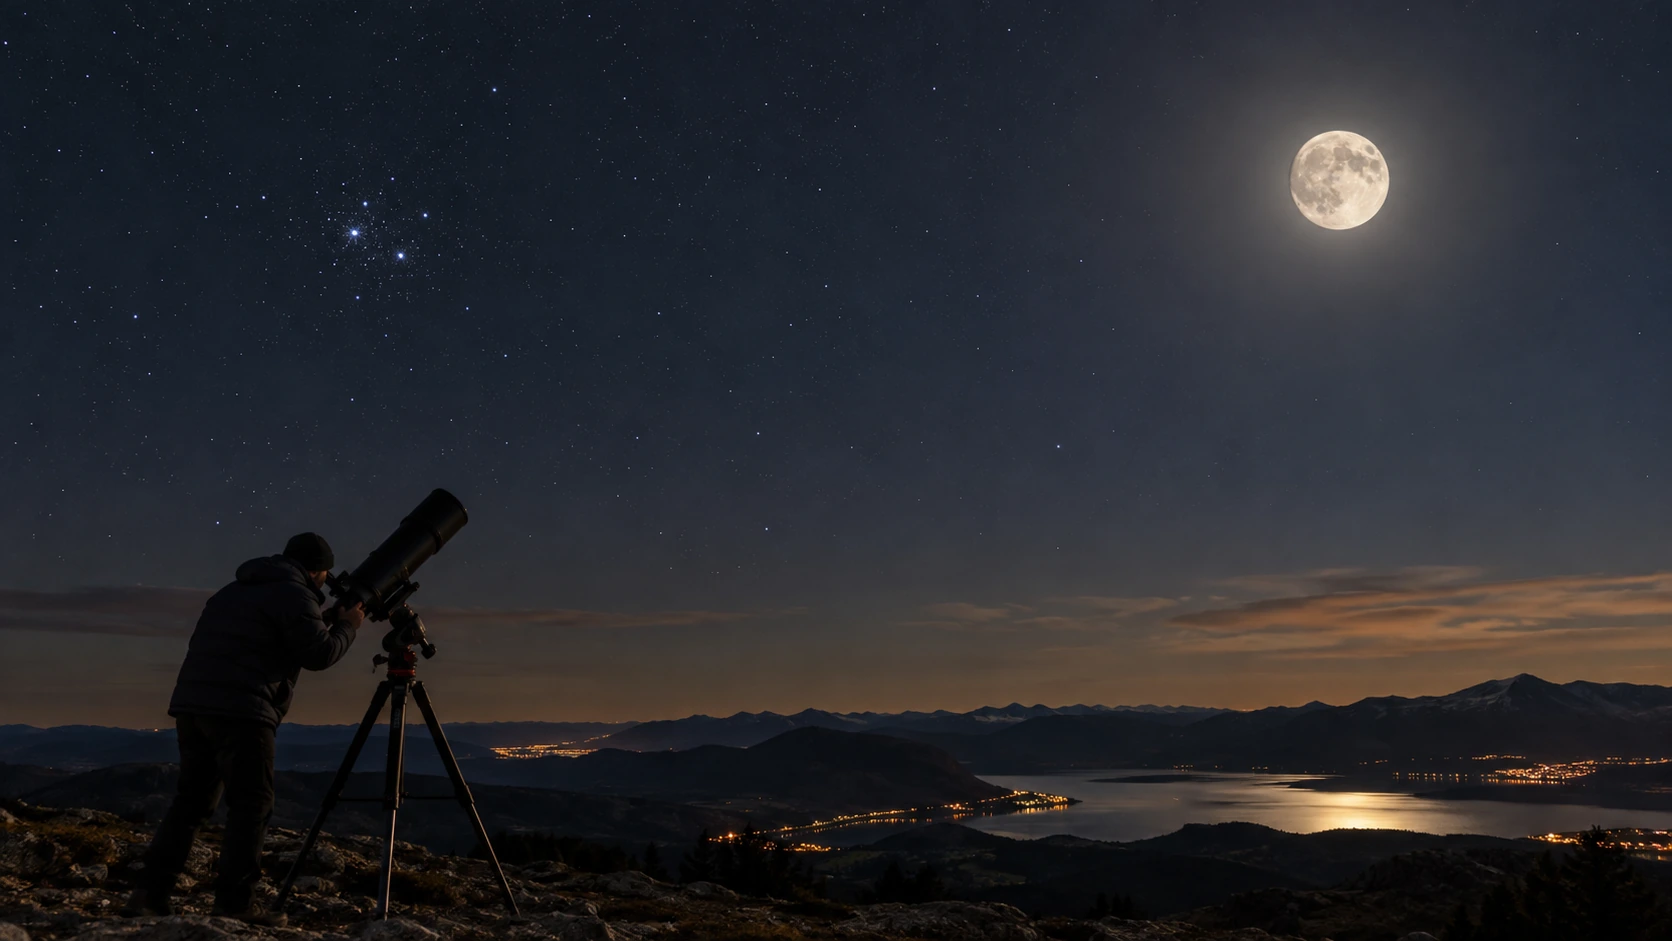
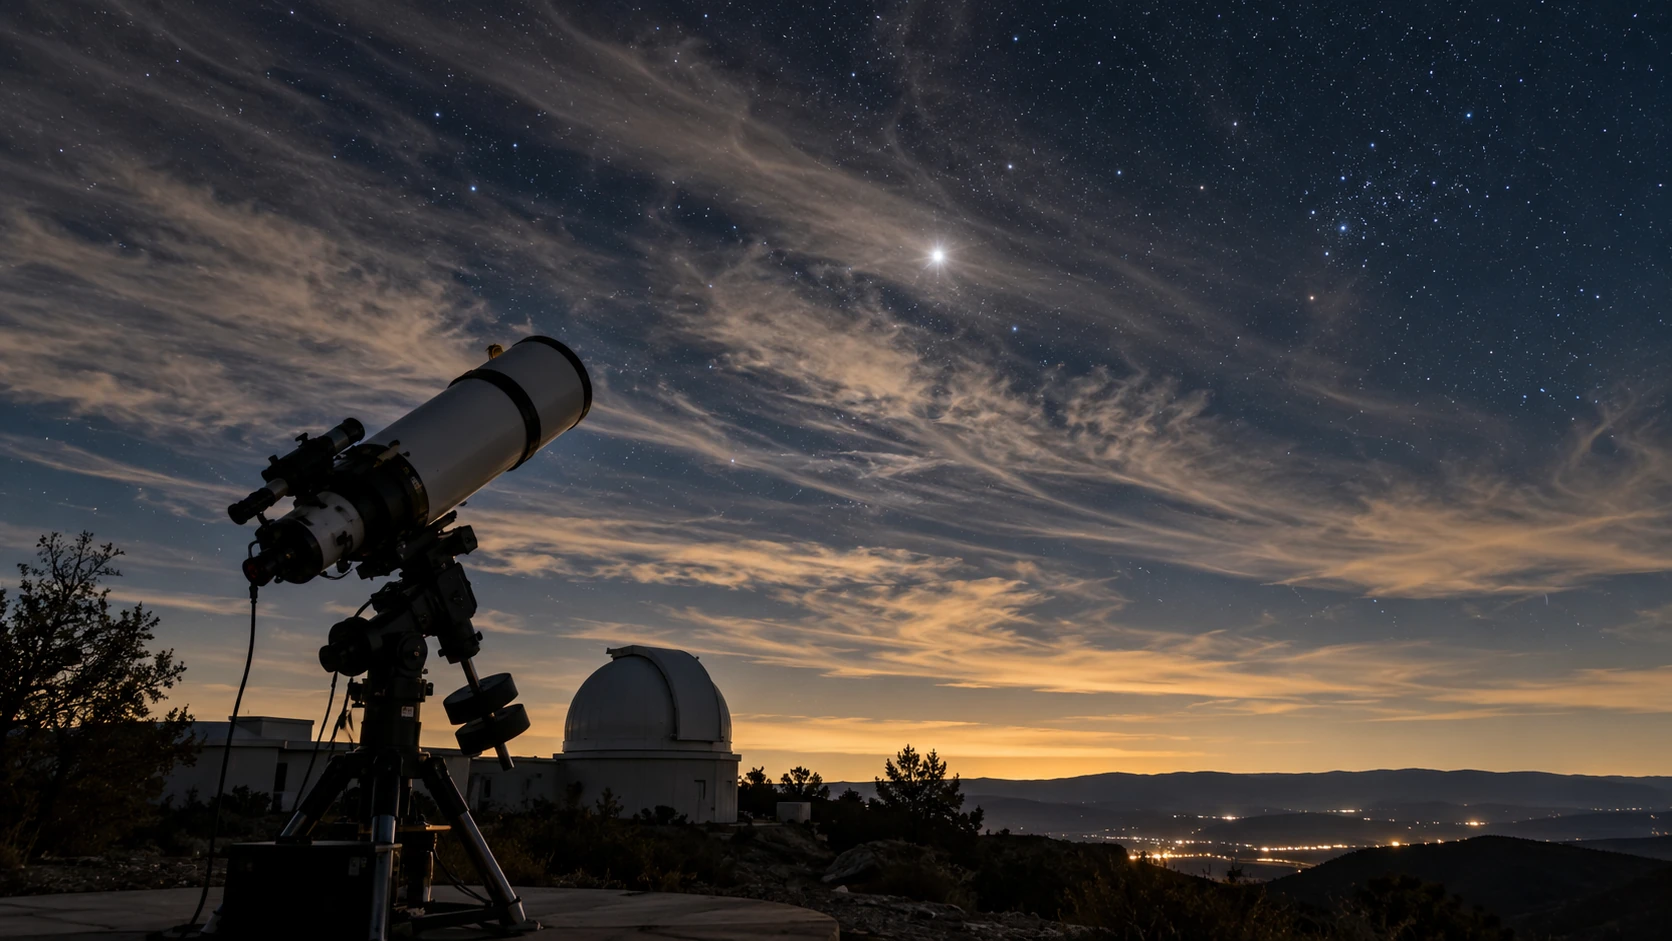


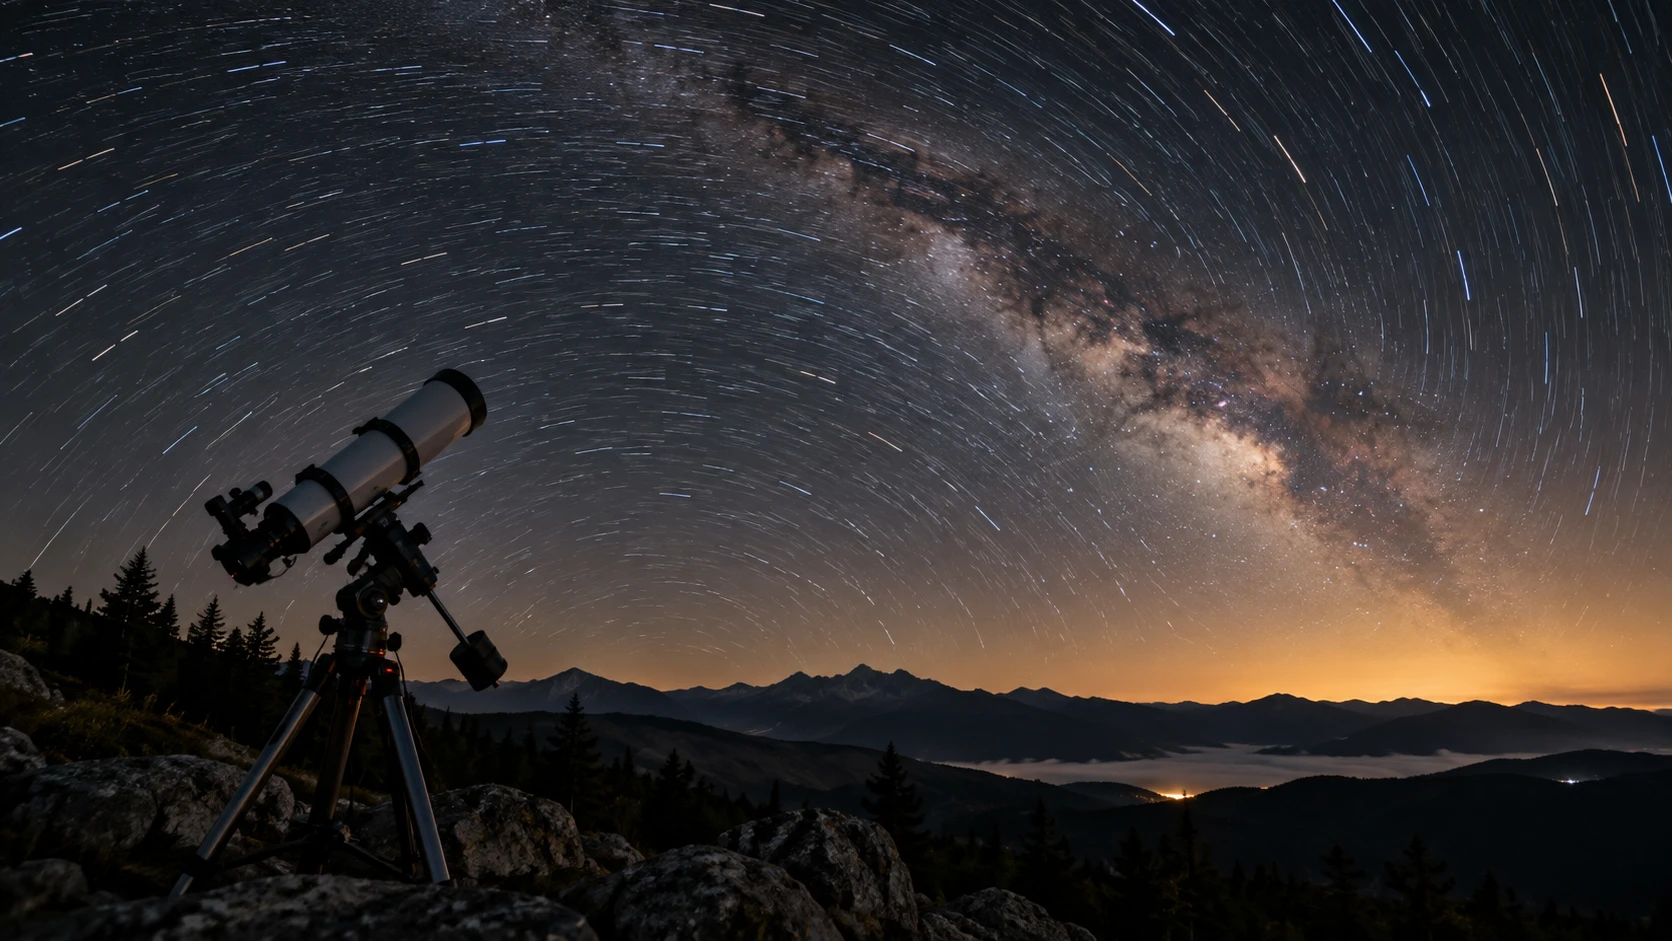
The Bortle scale is commonly used to estimate sky quality. It ranges from Class 1 for an almost perfectly dark sky to Class 9 for heavily light-polluted inner-city areas. The lower the Bortle class, the darker the sky and the more faint stars and deep-sky objects become visible.
Bortle 1–2: extremely dark skies, a highly contrasted Milky Way and excellent conditions for deep-sky observing.
Bortle 3–4: good rural skies with only moderate skyglow, very suitable for many nebulae, star clusters and galaxies.
Bortle 5–6: noticeably brightened suburban or city-edge skies; brighter deep-sky objects remain visible, while faint targets become more difficult.
Bortle 7–9: heavily light-polluted urban to inner-city skies; many faint objects disappear into the bright background, while the Moon, planets and bright stars remain much easier to observe.
In practice, this means that anyone who wants to observe or photograph faint deep-sky objects benefits enormously from a darker site. Moving from a heavily light-polluted city location to a rural observing site can often make a bigger difference than upgrading to much more expensive equipment.
Seeing and Transparency
Seeing and transparency describe two different atmospheric conditions and are often confused when planning an observing session. Both can determine whether a night is excellent for a particular target or rather disappointing. A cloudless sky therefore does not automatically mean good observing conditions.
Seeing describes atmospheric turbulence. Temperature differences, air currents and turbulent layers continuously distort incoming light. As a result, stars appear to twinkle and fine details can become blurred. Poor seeing is especially noticeable at high magnification, for example when observing the Moon, Jupiter, Saturn or close double stars. With good seeing, stars appear steadier and fine planetary detail becomes much easier to resolve. For lunar and planetary imaging, good seeing is often more important than an exceptionally dark sky.
Seeing can change significantly during the night. After sunset, roofs, roads, walls and other warm surfaces release stored heat and create additional turbulence. A telescope that is still much warmer or colder than the surrounding air can also generate local disturbances. Conditions often become steadier later in the night as the ground and environment cool down.
Transparency, on the other hand, describes how clear and light-transmitting the atmosphere is. Humidity, haze, dust, smoke, Saharan dust or thin high clouds can reduce transparency even when the sky looks clear at first glance. Poor transparency lowers contrast and especially affects faint deep-sky objects such as nebulae and galaxies.
Good transparency is often noticeable when the sky looks very crisp, stars remain visible closer to the horizon and city light domes scatter less strongly. After a cold front has passed, transparency can sometimes be excellent, while warm and humid nights may produce a milky-looking sky despite being cloudless.
For deep-sky observing and astrophotography, high transparency is especially important. Faint nebulae, galaxies and subtle structures benefit from a clear atmosphere and a dark background. Seeing still matters, but for large deep-sky targets it is often less critical than it is for planets or the Moon.
In practice, very different combinations are possible. A night can have excellent transparency but poor seeing – ideal for large nebulae or galaxies, but less suitable for fine planetary detail. The opposite can also happen: the air may be very steady while haze reduces transparency. In that case, the Moon and planets can still look excellent while faint deep-sky objects lose contrast.
For observing planning, it therefore makes sense to consider seeing and transparency separately. Weather and astronomy apps can provide useful forecasts, but conditions should still be checked on location. Strong stellar twinkling often points to turbulent air, while a washed-out or milky sky is more likely to indicate reduced transparency.
Deep-sky imaging benefits strongly from good transparency and a dark sky, while lunar imaging and smaller bright targets are more dependent on steady air. Matching the target to the conditions makes each clear night far more productive.
Moon Phase and Sky Brightness
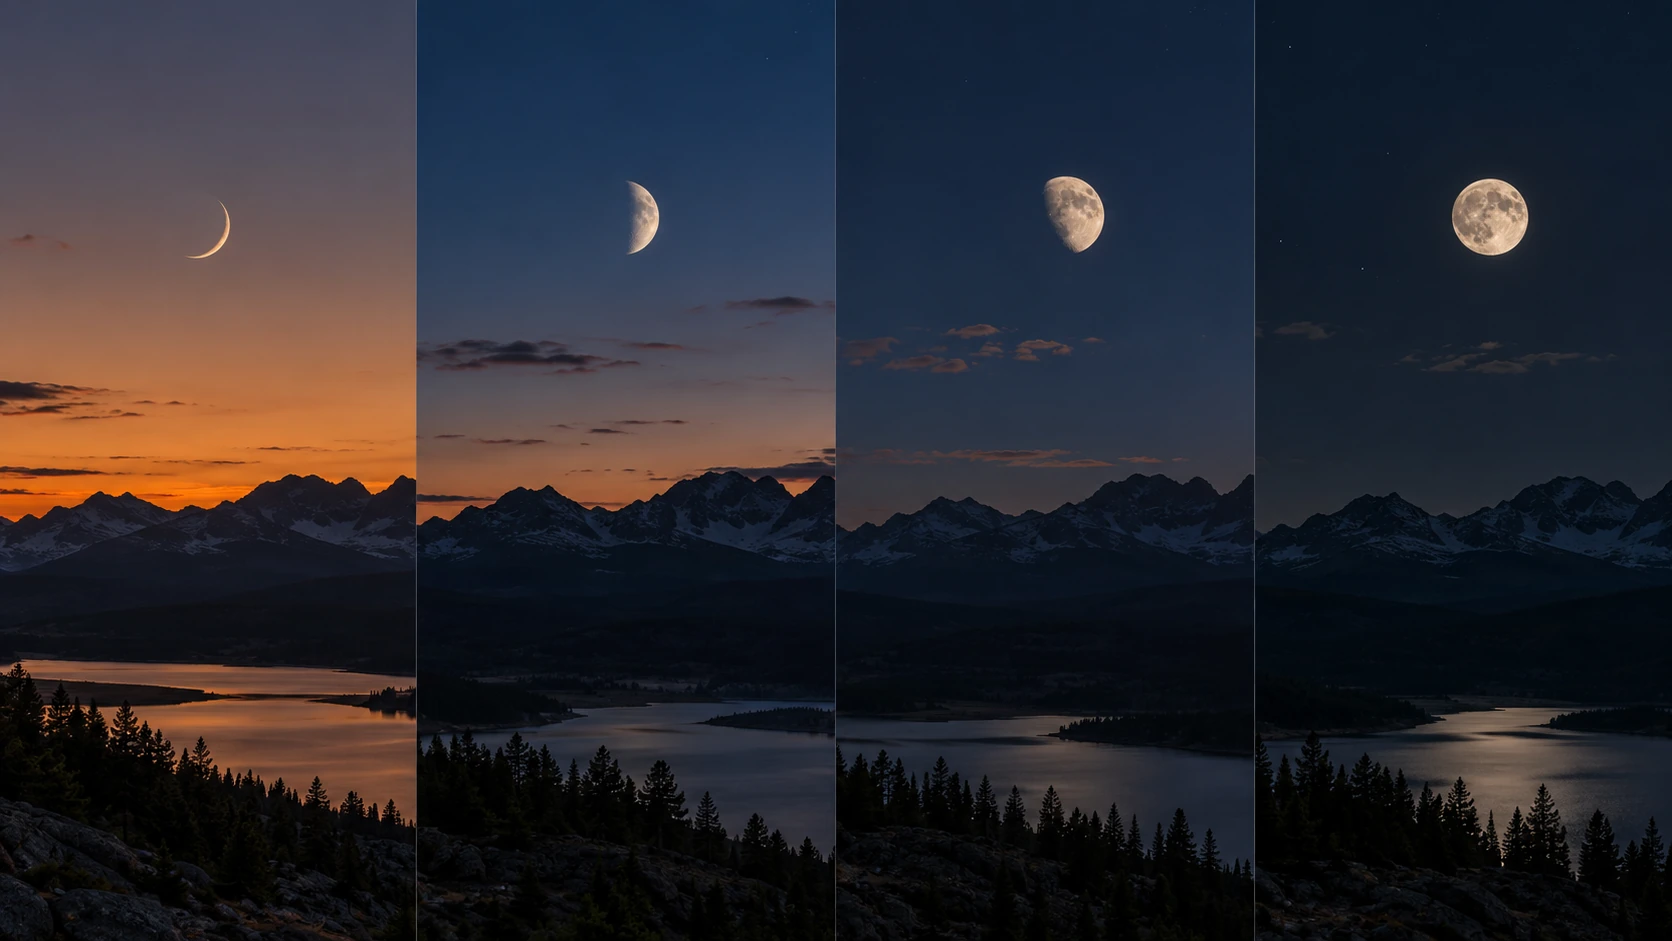
The Moon is one of the most important factors affecting the brightness of the night sky. The fuller and higher it is above the horizon, the more strongly its light brightens the sky. This reduces contrast with faint deep-sky objects, making weak nebulae, galaxies and subtle Milky Way structures significantly harder to observe or photograph.
For deep-sky observing, nights around new moon are therefore especially valuable. The natural sky background is much darker, allowing faint objects to stand out more clearly. Several days before or after new moon can also offer excellent conditions, especially when the Moon is visible only briefly or remains on the opposite side of the sky from the target.
The lunar phase alone does not tell the whole story. It is equally important to know when the Moon rises and sets and how high it is during the planned observing period. A bright Moon that rises late at night may have little effect on the first hours of a session. By contrast, even a half Moon can be disruptive if it is high in the sky and close to the target.
The angular distance between the Moon and the target is also important. A faint nebula or galaxy located far from the Moon can still be observed under reasonably good conditions. If the target lies close to the Moon, however, contrast drops significantly. Humidity and haze can make this effect even stronger because they scatter moonlight through the atmosphere.
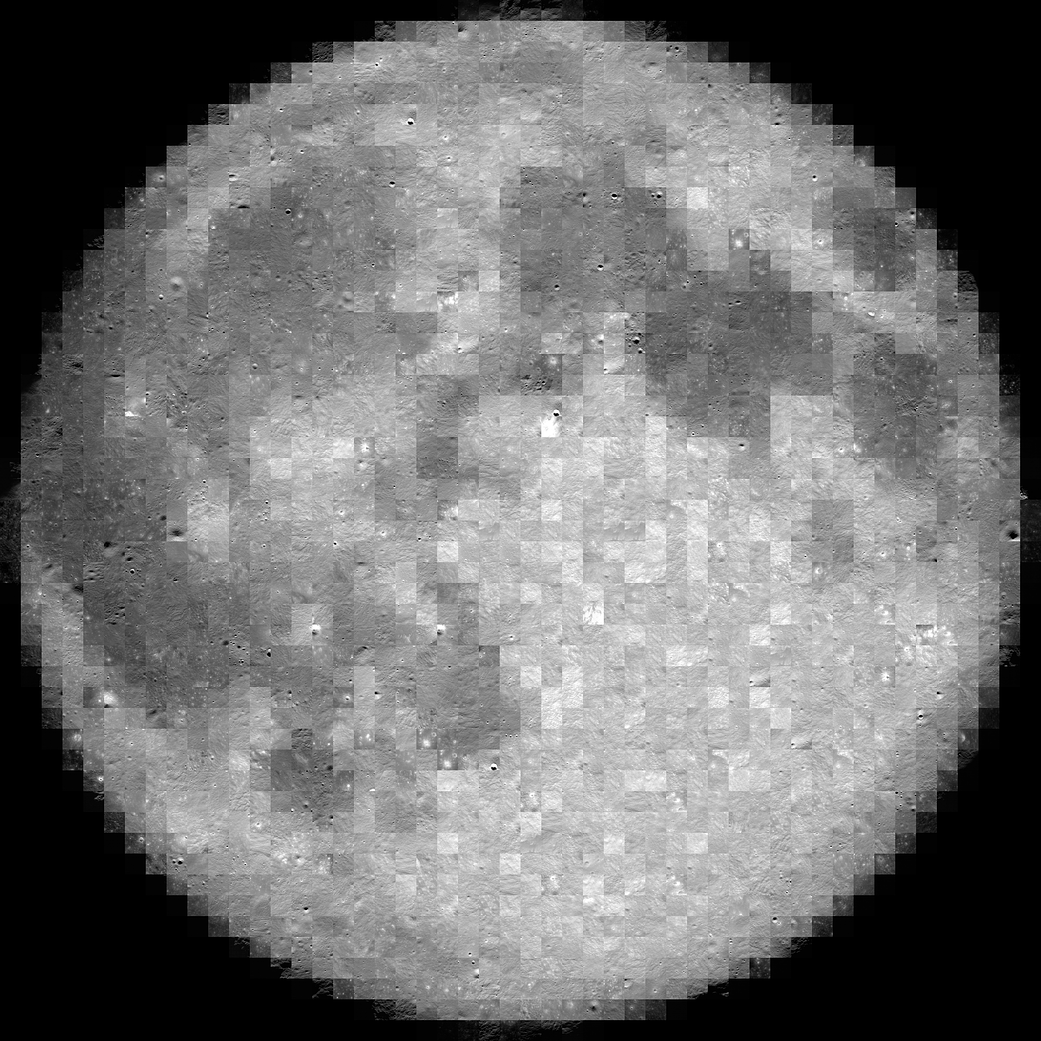
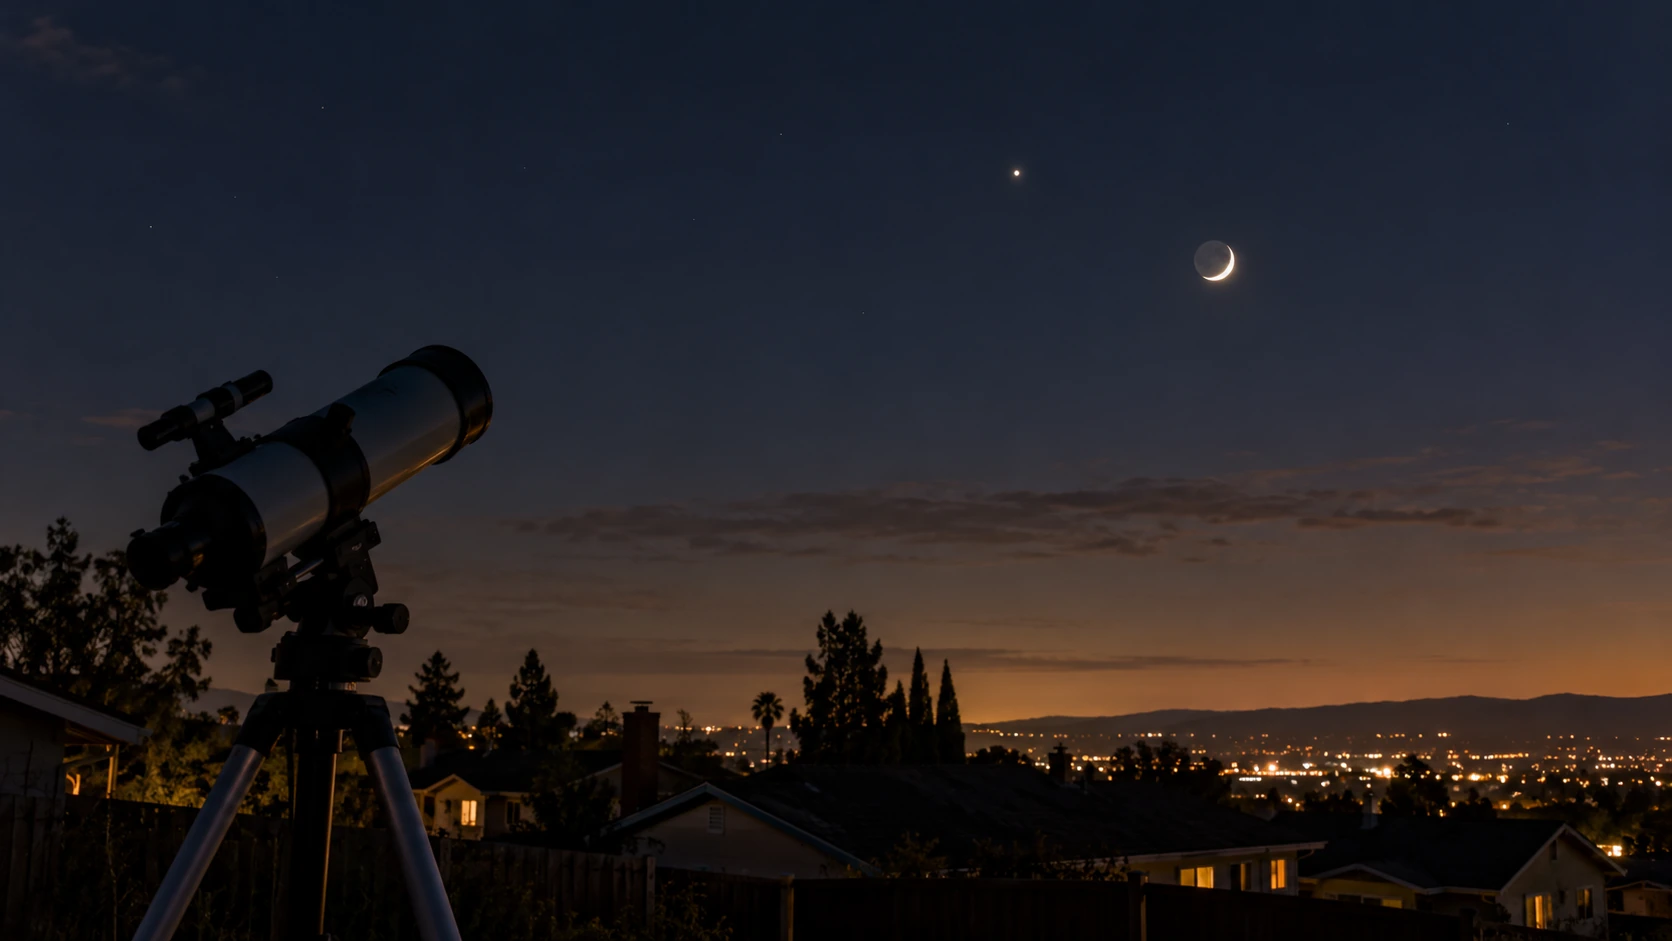
For lunar and planetary observing, bright moonlight is of course not a disadvantage. Certain lunar phases are actually especially rewarding. Along the terminator – the boundary between the illuminated and dark parts of the Moon – craters, mountains and valleys cast long shadows and appear much more three-dimensional. A full Moon is spectacularly bright, but because the sunlight falls almost directly onto the surface, relief and shadow detail are less pronounced.
In practice,deep-sky imaging benefits significantly from moonless or low-moon nights, especially when capturing faint nebulae and galaxies. Bright star clusters, some compact nebulae and of course the Moon itself can still be worthwhile targets under brighter conditions. By considering the lunar phase, rise and set times, and the Moon’s distance from the target, even nights that are not ideal for classic deep-sky imaging can still be used effectively.
When planning a session, it is therefore worth checking astronomy apps such as Stellarium or Sky Tonight. These can show the lunar phase, position, rise and set times, and the Moon’s angular distance from planned observing targets in advance. This makes it much easier to decide whether a night is better suited to faint deep-sky objects, bright targets, or lunar and planetary observing.
Weather, Clouds and Humidity
Weather conditions often determine very directly whether an observing session will be successful. A clear sky is the most important requirement, but cloud cover, humidity, wind and temperature also play a major role. Thin high clouds may still allow stars to remain visible while at the same time reducing contrast enough to make faint deep-sky objects almost disappear.
High clouds and thin haze can be especially deceptive because the sky may still look clear at first glance. For the Moon and bright planets, such conditions can sometimes remain usable, while nebulae and galaxies usually suffer much more. Passing cloud fields can also interrupt long imaging sessions by changing the brightness of individual frames or blocking the target completely.
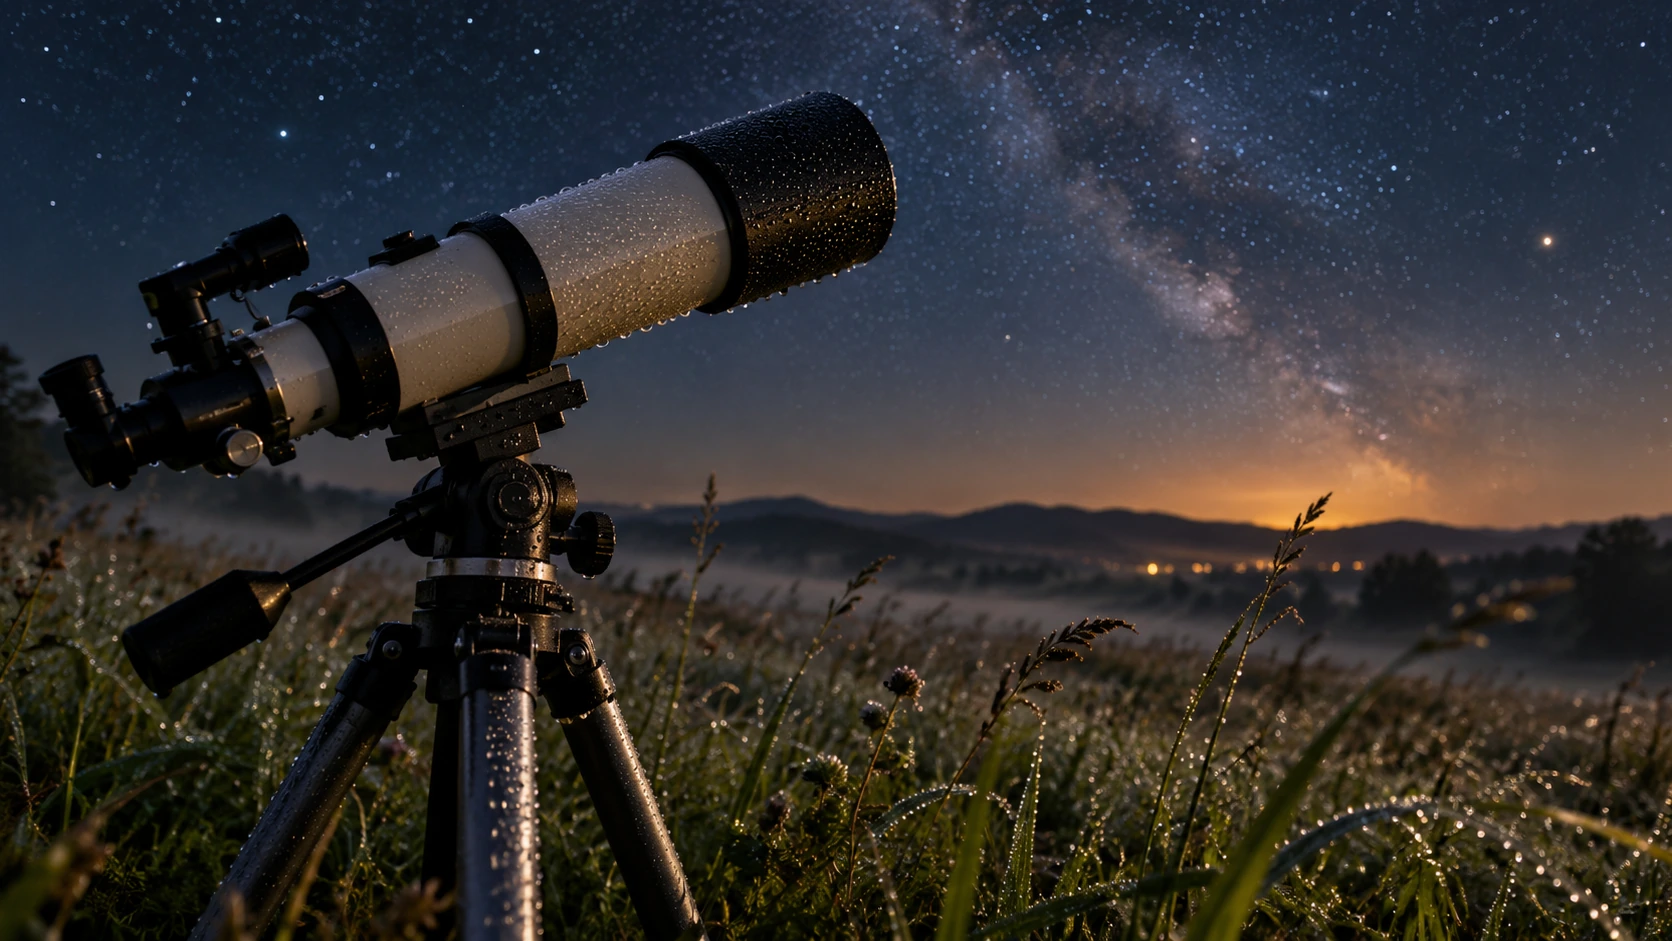
Humidity is another important factor. High moisture levels increase light scattering and can create a washed-out or milky sky. At the same time, the risk of dew forming on optics and equipment increases. During clear nights, telescope surfaces, cameras and accessories can cool below the ambient air temperature. Once the dew point is reached, moisture may begin to condense and image quality can deteriorate quickly.
Before a session, it is therefore useful to check not only temperature and cloud cover, but also humidity and dew point. If the air temperature and dew point are very close together, the likelihood of dew formation is significantly higher. In such conditions, the equipment should be monitored carefully throughout the night.
Wind also influences observing and imaging conditions. Strong gusts can cause a tripod to vibrate and reduce image quality. With compact systems,a stable setup is therefore especially important. Even a partially sheltered observing site can make a noticeable difference.
Temperature changes can additionally affect both the atmosphere and the equipment. After a hot day, roads, roofs and walls may continue to release stored heat for hours, creating local turbulence. Natural ground such as grass or soil is often preferable to asphalt or concrete when trying to achieve steadier conditions.
In practice, it is best to consider several weather parameters together: cloud cover, humidity, dew point, wind speed, temperature and visibility. Astronomy apps and weather services provide useful forecasts, but conditions should still be checked on location because local weather can change faster than expected.
For longer imaging sessions, stable weather is especially valuable during longer deep-sky sessions. Short clear gaps may still be enough for bright targets, but several hours of integration benefit greatly from consistent conditions. Planning for weather, humidity and wind reduces unnecessary interruptions and helps improve the quality of the final data.
Altitude, Air Mass and Object Position
The altitude of an object above the horizon has a major influence on observing quality. The higher a star, planet, nebula or galaxy is in the sky, the less atmosphere its light has to pass through. As a result, contrast, sharpness and overall image quality are usually better.
Near the horizon, light travels through a much thicker layer of Earth’s atmosphere. This additional air mass weakens the light, increases scattering and can reduce both color fidelity and fine detail. Haze, humidity, dust and light pollution therefore have a much stronger effect on objects that are low in the sky.
For both observing and astrophotography, objects are often best placed when they reach their highest point in the sky. This moment is known as culmination or meridian transit. Around this time, the object usually passes through the least amount of atmosphere, which is especially beneficial for faint deep-sky targets.
Altitude is measured in degrees: 0° corresponds to the horizon, while 90° is the zenith directly overhead. As a rough guideline, objects below about 20° are often significantly more difficult to observe. Conditions usually improve noticeably above 30°, while many targets are already very well placed above 45°. In general, the higher the object, the better the transparency and contrast.
For the Moon and planets, altitude is especially important. When Jupiter, Saturn or Mars are low above the horizon, atmospheric turbulence and refraction become much more noticeable. At greater altitude, the image is usually steadier and fine details are easier to observe or photograph.
It is therefore useful to capture a target when it is high enough in the sky. During long deep-sky sessions, planning the imaging time around culmination can improve image quality and also reduce interference from houses, trees or other obstacles near the horizon.
Apps such as Stellarium or Sky Tonight are very useful for planning this in advance. They show when an object rises, how high it will get, when it reaches culmination and when it starts to sink again. This makes it much easier to plan the best observing and imaging window.
At the Observing Site
Dark Adaptation and Visual Observing
During visual observing, the human eye needs time to adapt fully to darkness. This process is known as dark adaptation. Sensitivity improves noticeably after only a few minutes, but full adaptation can take 20 to 30 minutes or even longer. This makes a major difference when observing faint deep-sky objects.
Bright white light can interrupt this adaptation very quickly. During an observing session, it is therefore best to avoid bright displays, flashlights and other strong light sources whenever possible. If light is needed, dim red light is usually a much better choice because it interferes less with night vision. Smartphone and tablet screens should also be dimmed as much as possible and used in night mode.


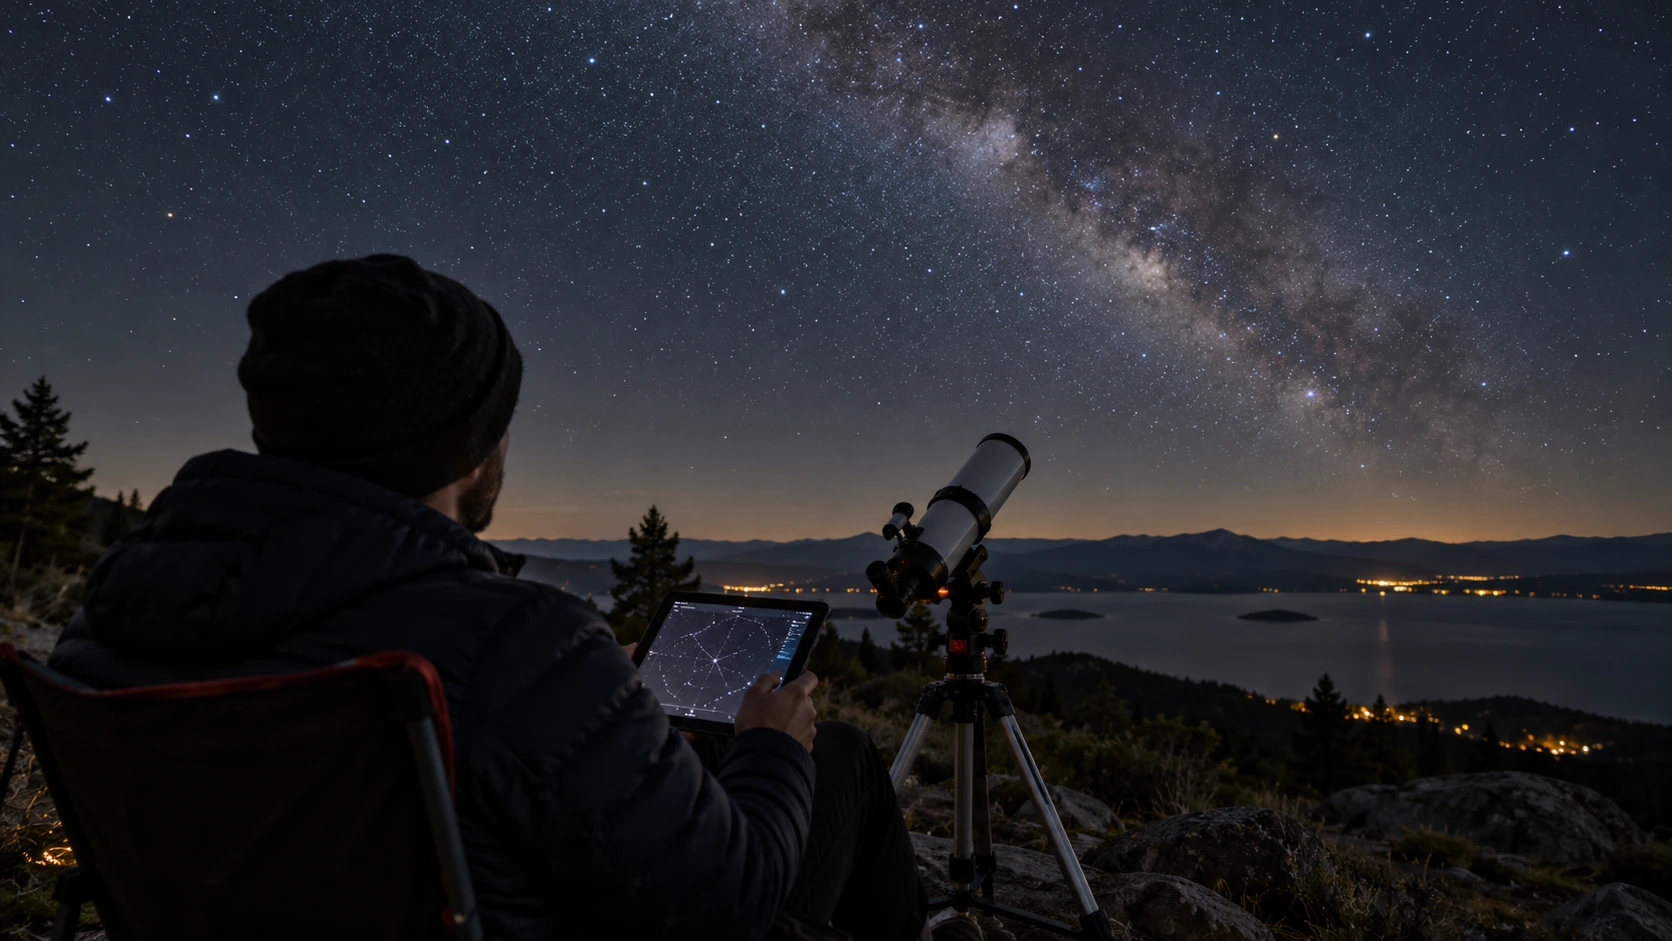

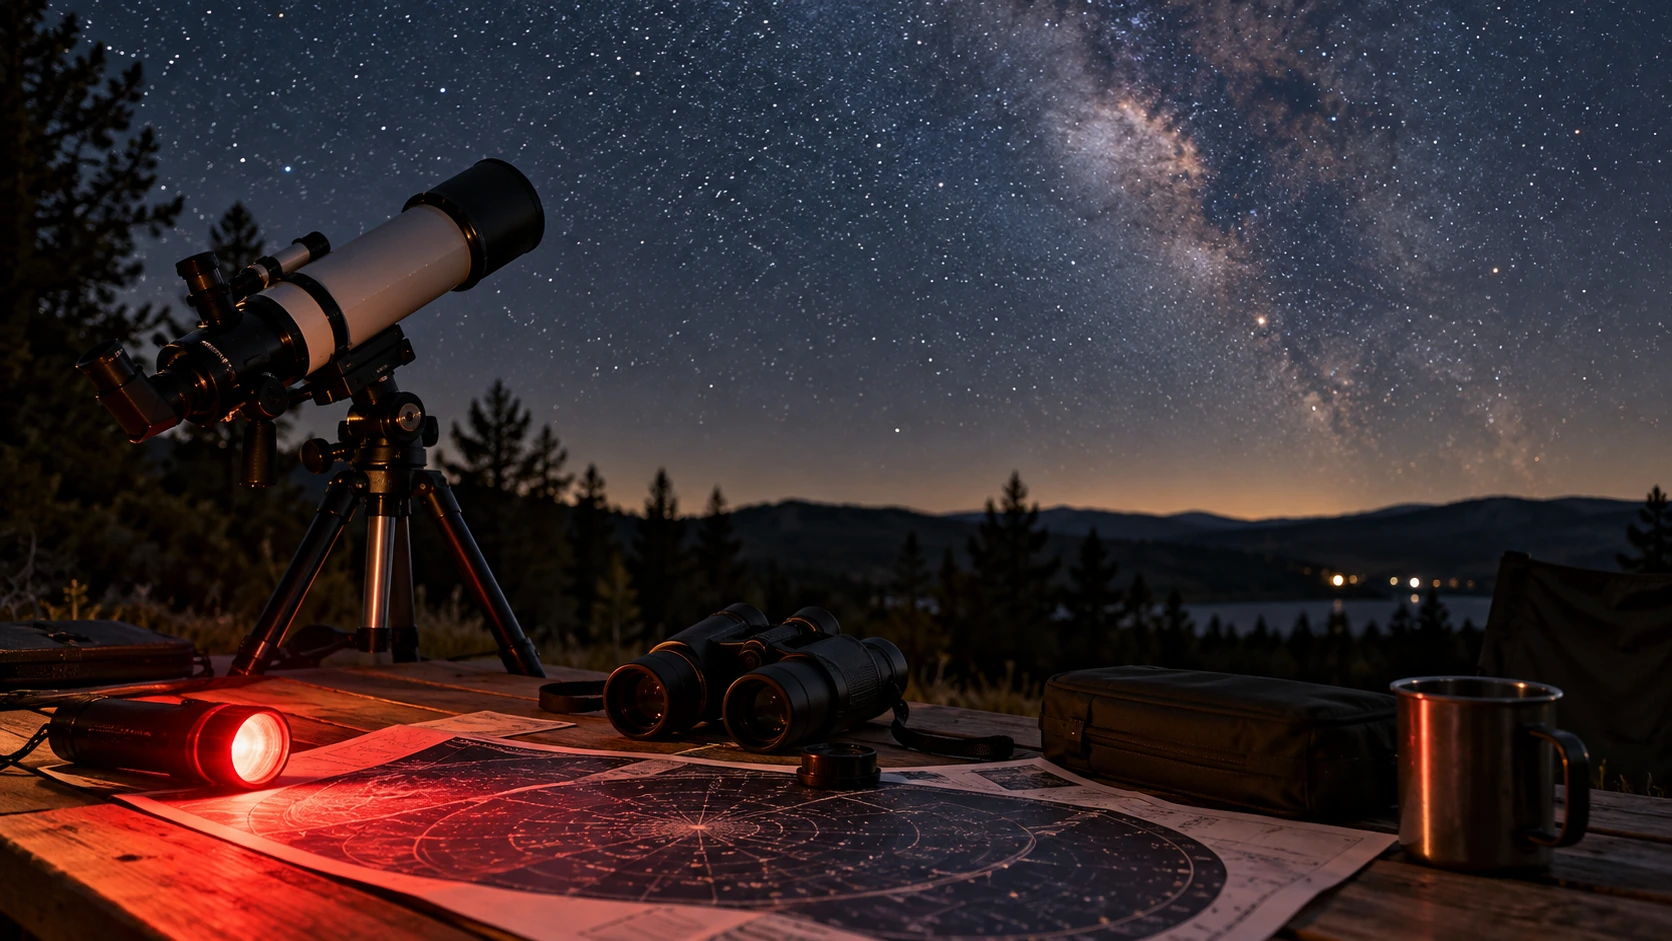
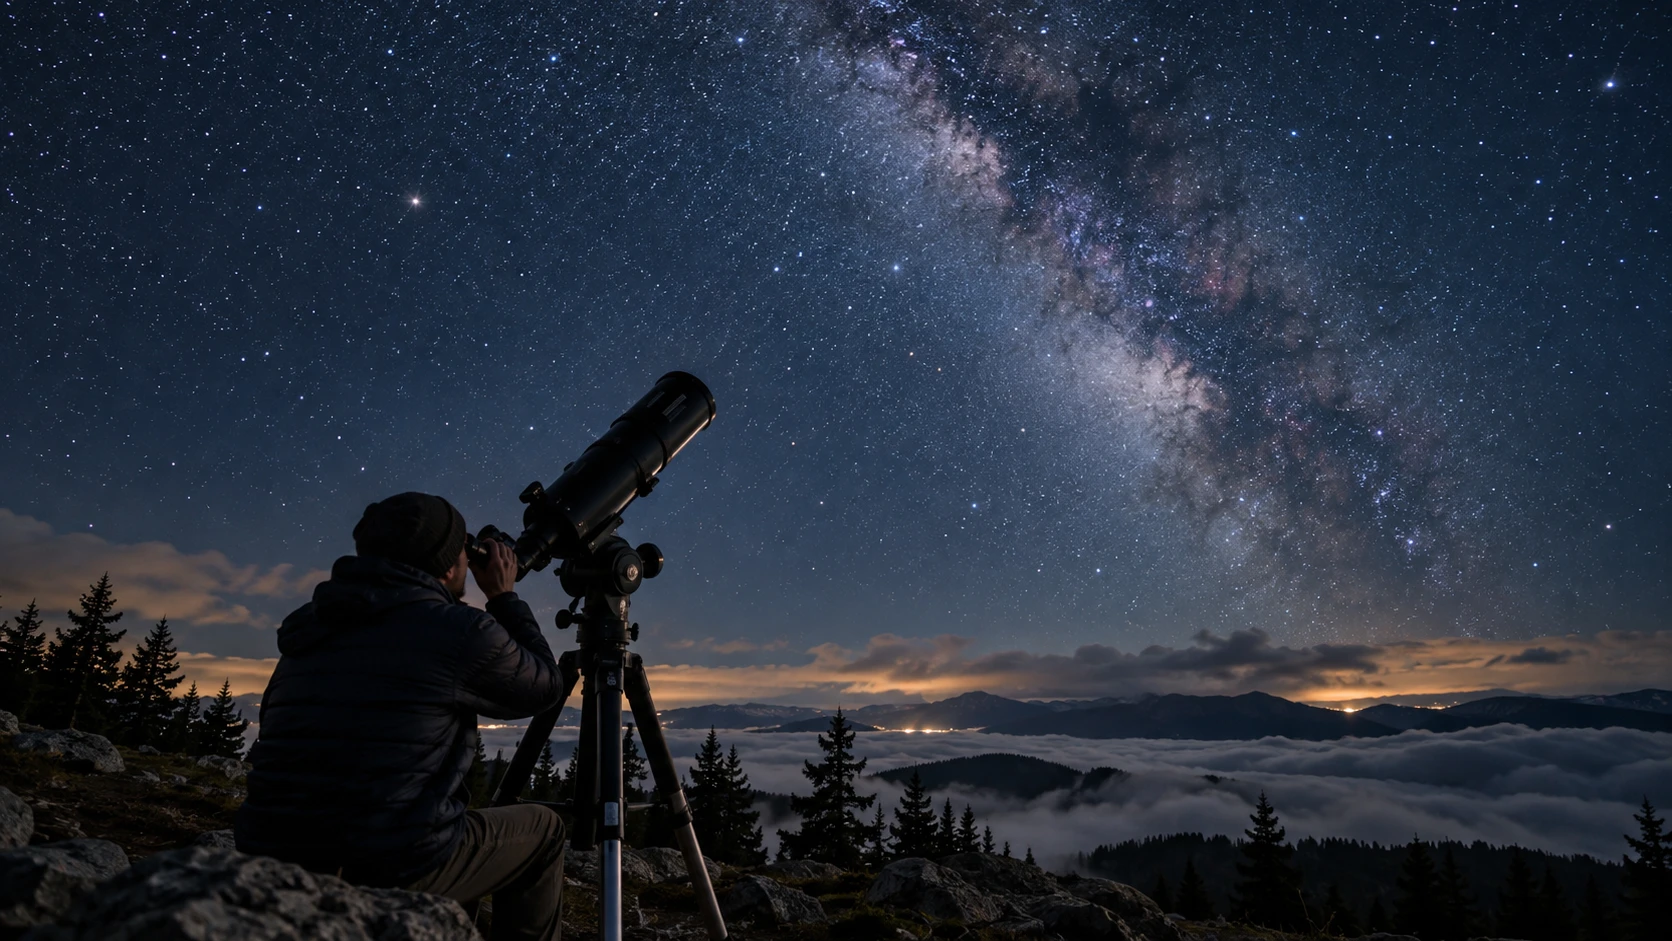
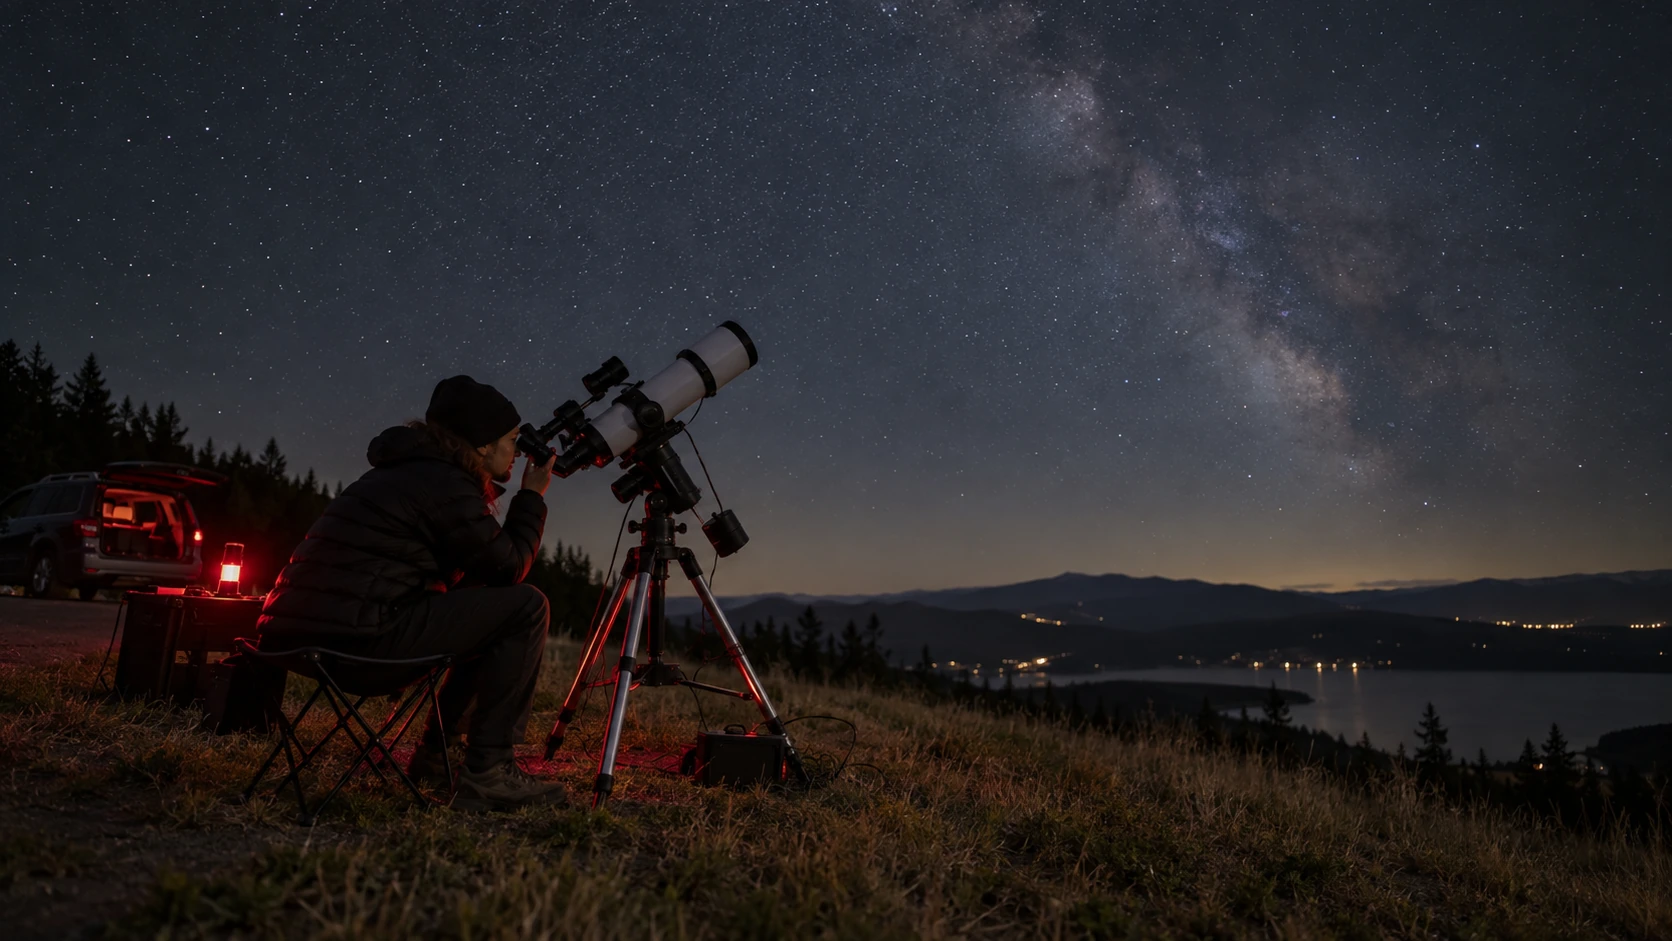
For very faint objects, averted vision can also help. Instead of looking directly at the target, you look slightly to one side of it. The more light-sensitive areas of the retina can then detect weak structures more effectively. This technique is especially useful for nebulae and galaxies.
Patience is equally important. Many subtle details do not become visible immediately. By spending more time at the eyepiece and observing the same object repeatedly, additional structures often begin to appear. Small shifts in gaze can also help reveal faint features.
When observing with binoculars or a telescope, short breaks can be useful to relax the eyes and maintain sensitivity over longer sessions. At the same time, it helps to avoid constantly switching between the dark sky and bright screens.
With camera-based imaging, traditional dark adaptation is less important for the actual imaging process because the camera records the light. However, it still matters if you are observing the sky visually at the same time with the naked eye, binoculars or a conventional telescope. Combining digital imaging with visual observing can make a night much more rewarding.
Observing Planning with Apps and Charts
A successful observing session begins well before the equipment is set up. Astronomy apps and digital sky charts make it possible to check in advance which objects are visible, when they rise and set, how high they will be in the sky and whether moonlight or weather conditions are likely to interfere. Good preparation helps make much better use of the available observing time.
Stellarium is especially useful for simulating the night sky for a specific location and time. It can show where an object will be, when it reaches culmination and which constellations surround it. This is particularly helpful when several targets are planned for the same night.
Sky Tonight adds useful information about visibility, lunar phase, rise and set times, and special celestial events. Stargazing Hub can also help identify interesting targets and current observing opportunities. For imaging with the Seestar S50 Pro, the Seestar App is especially important because targets can be selected, located and captured directly from the app.
It is also useful to consider how an object moves across the sky over several hours. A target that is still low at the beginning of a session may be much better placed later in the night. Conversely, an object may eventually disappear behind trees, buildings or other obstacles. Good planning therefore takes the entire path of the target into account, not just a single moment.
The Moon should also be included in the planning process. For faint deep-sky objects, it is usually better to choose targets that are far from the Moon and to use darker time windows. Bright targets such as the Moon, planets or compact star clusters are much less sensitive to a bright sky.
Weather data should be considered at the same time. Cloud cover, wind, humidity, dew point, seeing and transparency all influence which target is actually worth observing on a particular night. It is therefore better to combine astronomy charts with weather forecasts rather than relying on only one app or one source.
In practice, a useful sequence is: first check the weather and sky quality, then select suitable targets, confirm their altitude and visibility, and finally decide on the observing or imaging order. This kind of preparation makes it much easier to use the night efficiently and to switch between targets in a sensible way.
Choosing Observing Targets for the Conditions
Not every night is equally suitable for every observing target. By adapting your target selection to the actual conditions, you can still achieve good results even when the sky is far from perfect. The key is to use the strengths of the night instead of waiting only for ideal conditions.
Under very dark skies with good transparency, faint deep-sky objects are especially rewarding. Galaxies, large nebulae and weak star clusters benefit strongly from a dark background and low light pollution. Nights like these are ideal for targets that are difficult to see or image from brighter locations.
Under bright moonlight or stronger light pollution, brighter objects are usually the better choice. The Moon, planets, double stars, bright star clusters and some compact nebulae can remain attractive even when the sky is less than ideal. Such nights can still be used productively instead of being written off completely.
If the seeing is poor, very small or highly detailed targets are best avoided. Fine planetary or lunar detail can suffer noticeably from atmospheric turbulence. Large deep-sky objects may be a better choice, provided the transparency is still good enough.
If transparency is poor, for example because of haze, high humidity or Saharan dust, faint nebulae and galaxies lose contrast quickly. Bright planets, the Moon or compact star clusters can still remain worthwhile targets.
Wind also matters. During gusty conditions, a stable setup becomes especially important. Shorter sessions and brighter targets may be more practical than very long deep-sky integrations. Choosing a sheltered location can make a significant difference.
The altitude of the target should also be considered. A moderately bright object high in the sky can often be easier to observe than a brighter target close to the horizon. It therefore makes sense to look not only at brightness and object type, but also at current altitude and time of culmination.
Good observing planning does not mean waiting for one perfect night. It means matching the target to the conditions you actually have. That way, almost every clear night can be used in a meaningful way.
Safety and Etiquette at the Observing Site
A good observing site should not only be dark, but also safe and easy to access. Especially when using remote locations, it is useful to inspect the site during daylight whenever possible. This makes it easier to identify access roads, uneven ground, ditches, fences and other obstacles before arriving with equipment in the dark.
Tripod legs, cables, batteries and bags should be positioned so that they do not become tripping hazards. In complete darkness, even small obstacles can quickly become a problem. A firm, level surface also reduces the risk of the tripod or telescope shifting or tipping during an observing or imaging session.
Roads, farm tracks and working areas should never be blocked. Respect for residents, farmers and other observers is also important. Bright lights should be avoided whenever possible because they interfere with both your own dark adaptation and that of other people nearby. Dim red light is usually a better choice.
Before longer sessions, the weather should be checked again. Wind, thunderstorms, fog, sudden temperature drops or rapidly increasing cloud cover can make observing difficult or unsafe. If thunderstorms are possible, the equipment should be packed away early and the site should be left in good time.
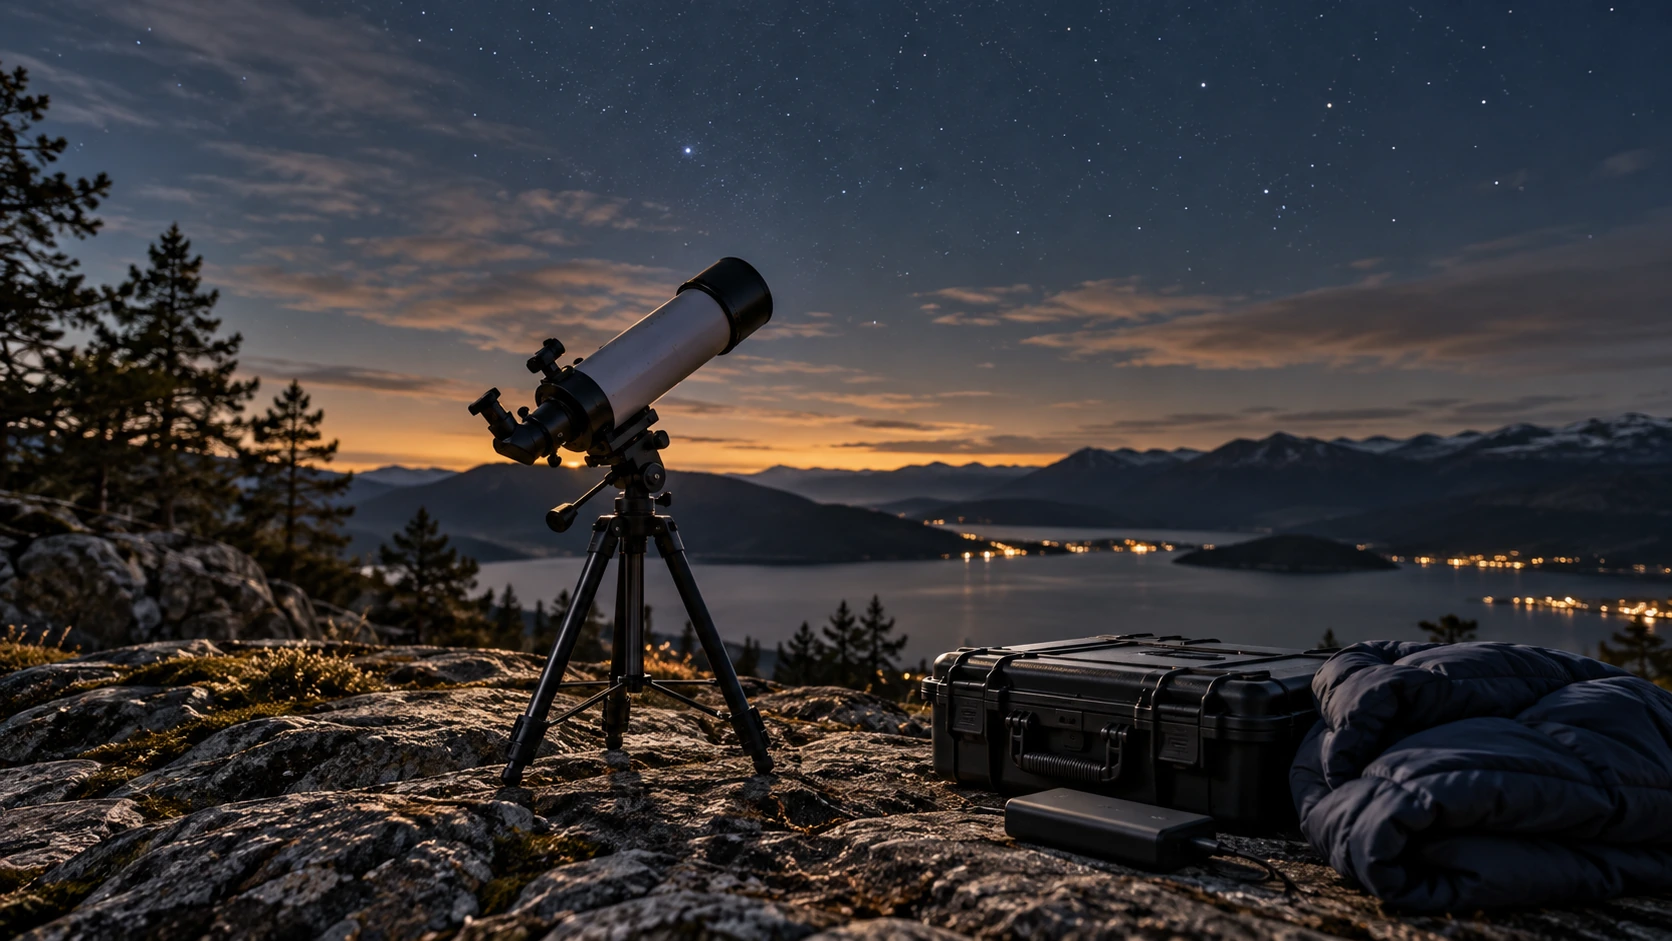
A fully charged smartphone and sufficient power reserves for the telescope, tablet and accessories are also sensible. At remote sites, staying reachable and having access to navigation, weather information and sky maps can be important. Carrying several power banks provides additional security during long nights.
Warm clothing, sturdy footwear and gloves are part of the basic equipment during cold nights. It is easy to underestimate how quickly the body cools down when standing still for several hours. Drinks and a small snack can also be useful during longer sessions.
The location should be chosen so that the telescope remains stable and protected throughout the session. Strong wind, tall grass, soft ground or a site close to passing vehicles can introduce vibration or movement and reduce image quality.
More About Astronomical Observing
Astronomical observing is a combination of planning, experience and patience. The better the observing site, weather, sky brightness and object position work together, the more you can get out of a night. There is no single perfect condition for every target: deep-sky objects benefit most from dark skies and good transparency, while the Moon and planets depend more strongly on steady air and good seeing.
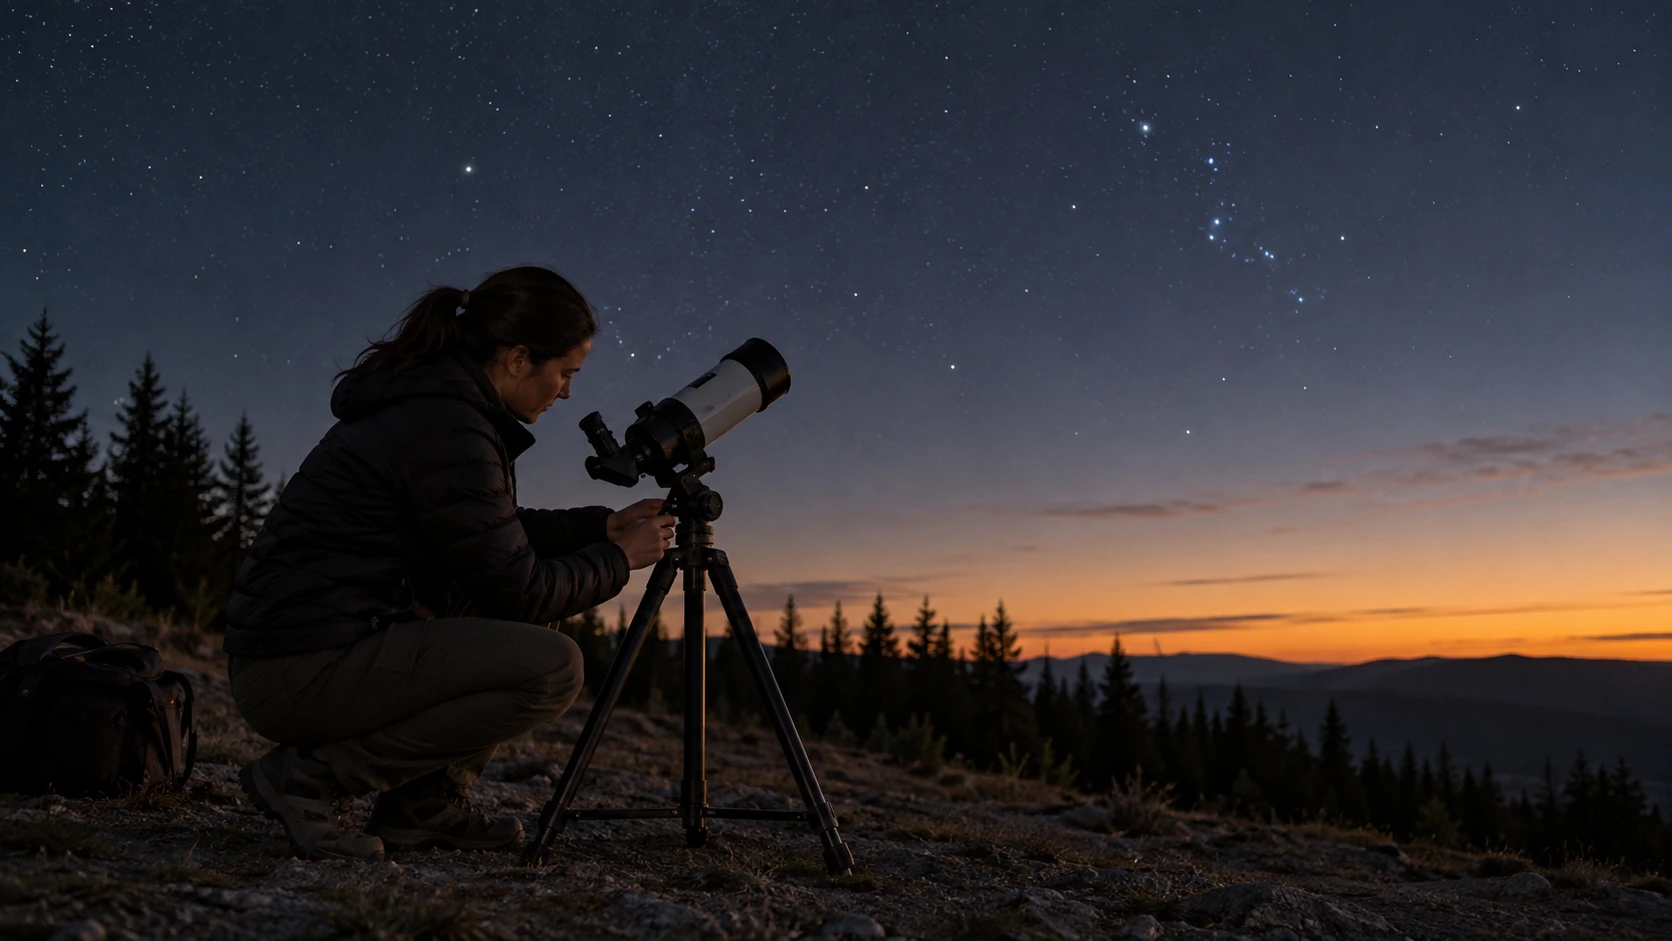

On Foto-Gorilla, more observing guides will be added over time – from specific target suggestions and Bortle classes to Moon phases, weather conditions, seasonal visibility and practical planning tips for individual nights. Stellarium, Sky Tonight, Stargazing Hub and the Seestar App will also play an important role in these guides.
I will also show which targets are especially worthwhile under different conditions, when longer integration times make sense and how an observing night can be planned efficiently. Real-world experience will be combined with technical background and clear explanations in the knowledge section.
The blog will complement these pages with detailed articles about specific observing sessions, imaging data, weather conditions, example images and step-by-step guides. Over time, this will create a practical resource that explains not only what can be seen in the sky, but also when and how it can best be observed or photographed.
Exploring the sky through an eyepiece or smart telescope
Your eyes are often enough for broad constellation patterns, and binoculars extend the view. A conventional telescope with a suitable eyepiece shows detail directly. Many smart telescopes instead display camera images on a screen. Choose the approach to suit your target and the night.